
Ender 3 Pro Printer Setup/Upgrades
Oh boy has it been a while since I’ve updated my blog!
I’ve been keeping busy between work, contracting, my yoyo side-business, the filming of Battlebots, and my various personal projects over the past few months. I’m also very fortunate that I’ve been able to work from home on everything and that my family has been safe during this pandemic.
As usual, I’ve been taking advantage of my ability to stay indoors working on things and have been quite busy and extremely happy over the past few months.
One thing that has been lacking has been my personal manufacturing capability. At the time of my last blog post, I only had my DLP printer and a hand drill. While the DLP printer is nice and was a worthy investment, its ability to make durable, engineering-grade items is lacking and after making a few robots with it, I lost interest in working with it.
After stocking up on general hand tools for Uppercut purposes (deadblow, wrenches, impactor, etc), I decided it was time to invest in a nice FDM setup where I could print composite materials like NylonG, as well as flexible/tough filaments like TPU.
The typical goto machine for someone interested in buying a new FDM setup is of course a Prusa I3 Mk3 due to its streamlined user interface, features like filament sensors, auto bed-levelling, etc. Unfortunately it costs $750 for the unassembled version ($1000 for the assembled version) and is not typically used out of the box for composite materials like NylonG.
From my experience, the huge benefit of the Prusa printers is that they work well for the Prusa materials right off the assembly line. Because I wanted to primarily use more exotic materials, I decided to buy the Ender 3 Pro due to its huge user base and many off the shelf upgrades. Plus it only costs $180. If I’m going to have to spend a significant amount of time tuning the printer and getting it to print composites well anyway, I might as well save the $500.
2 days after placing my order, an excellent box arrived:
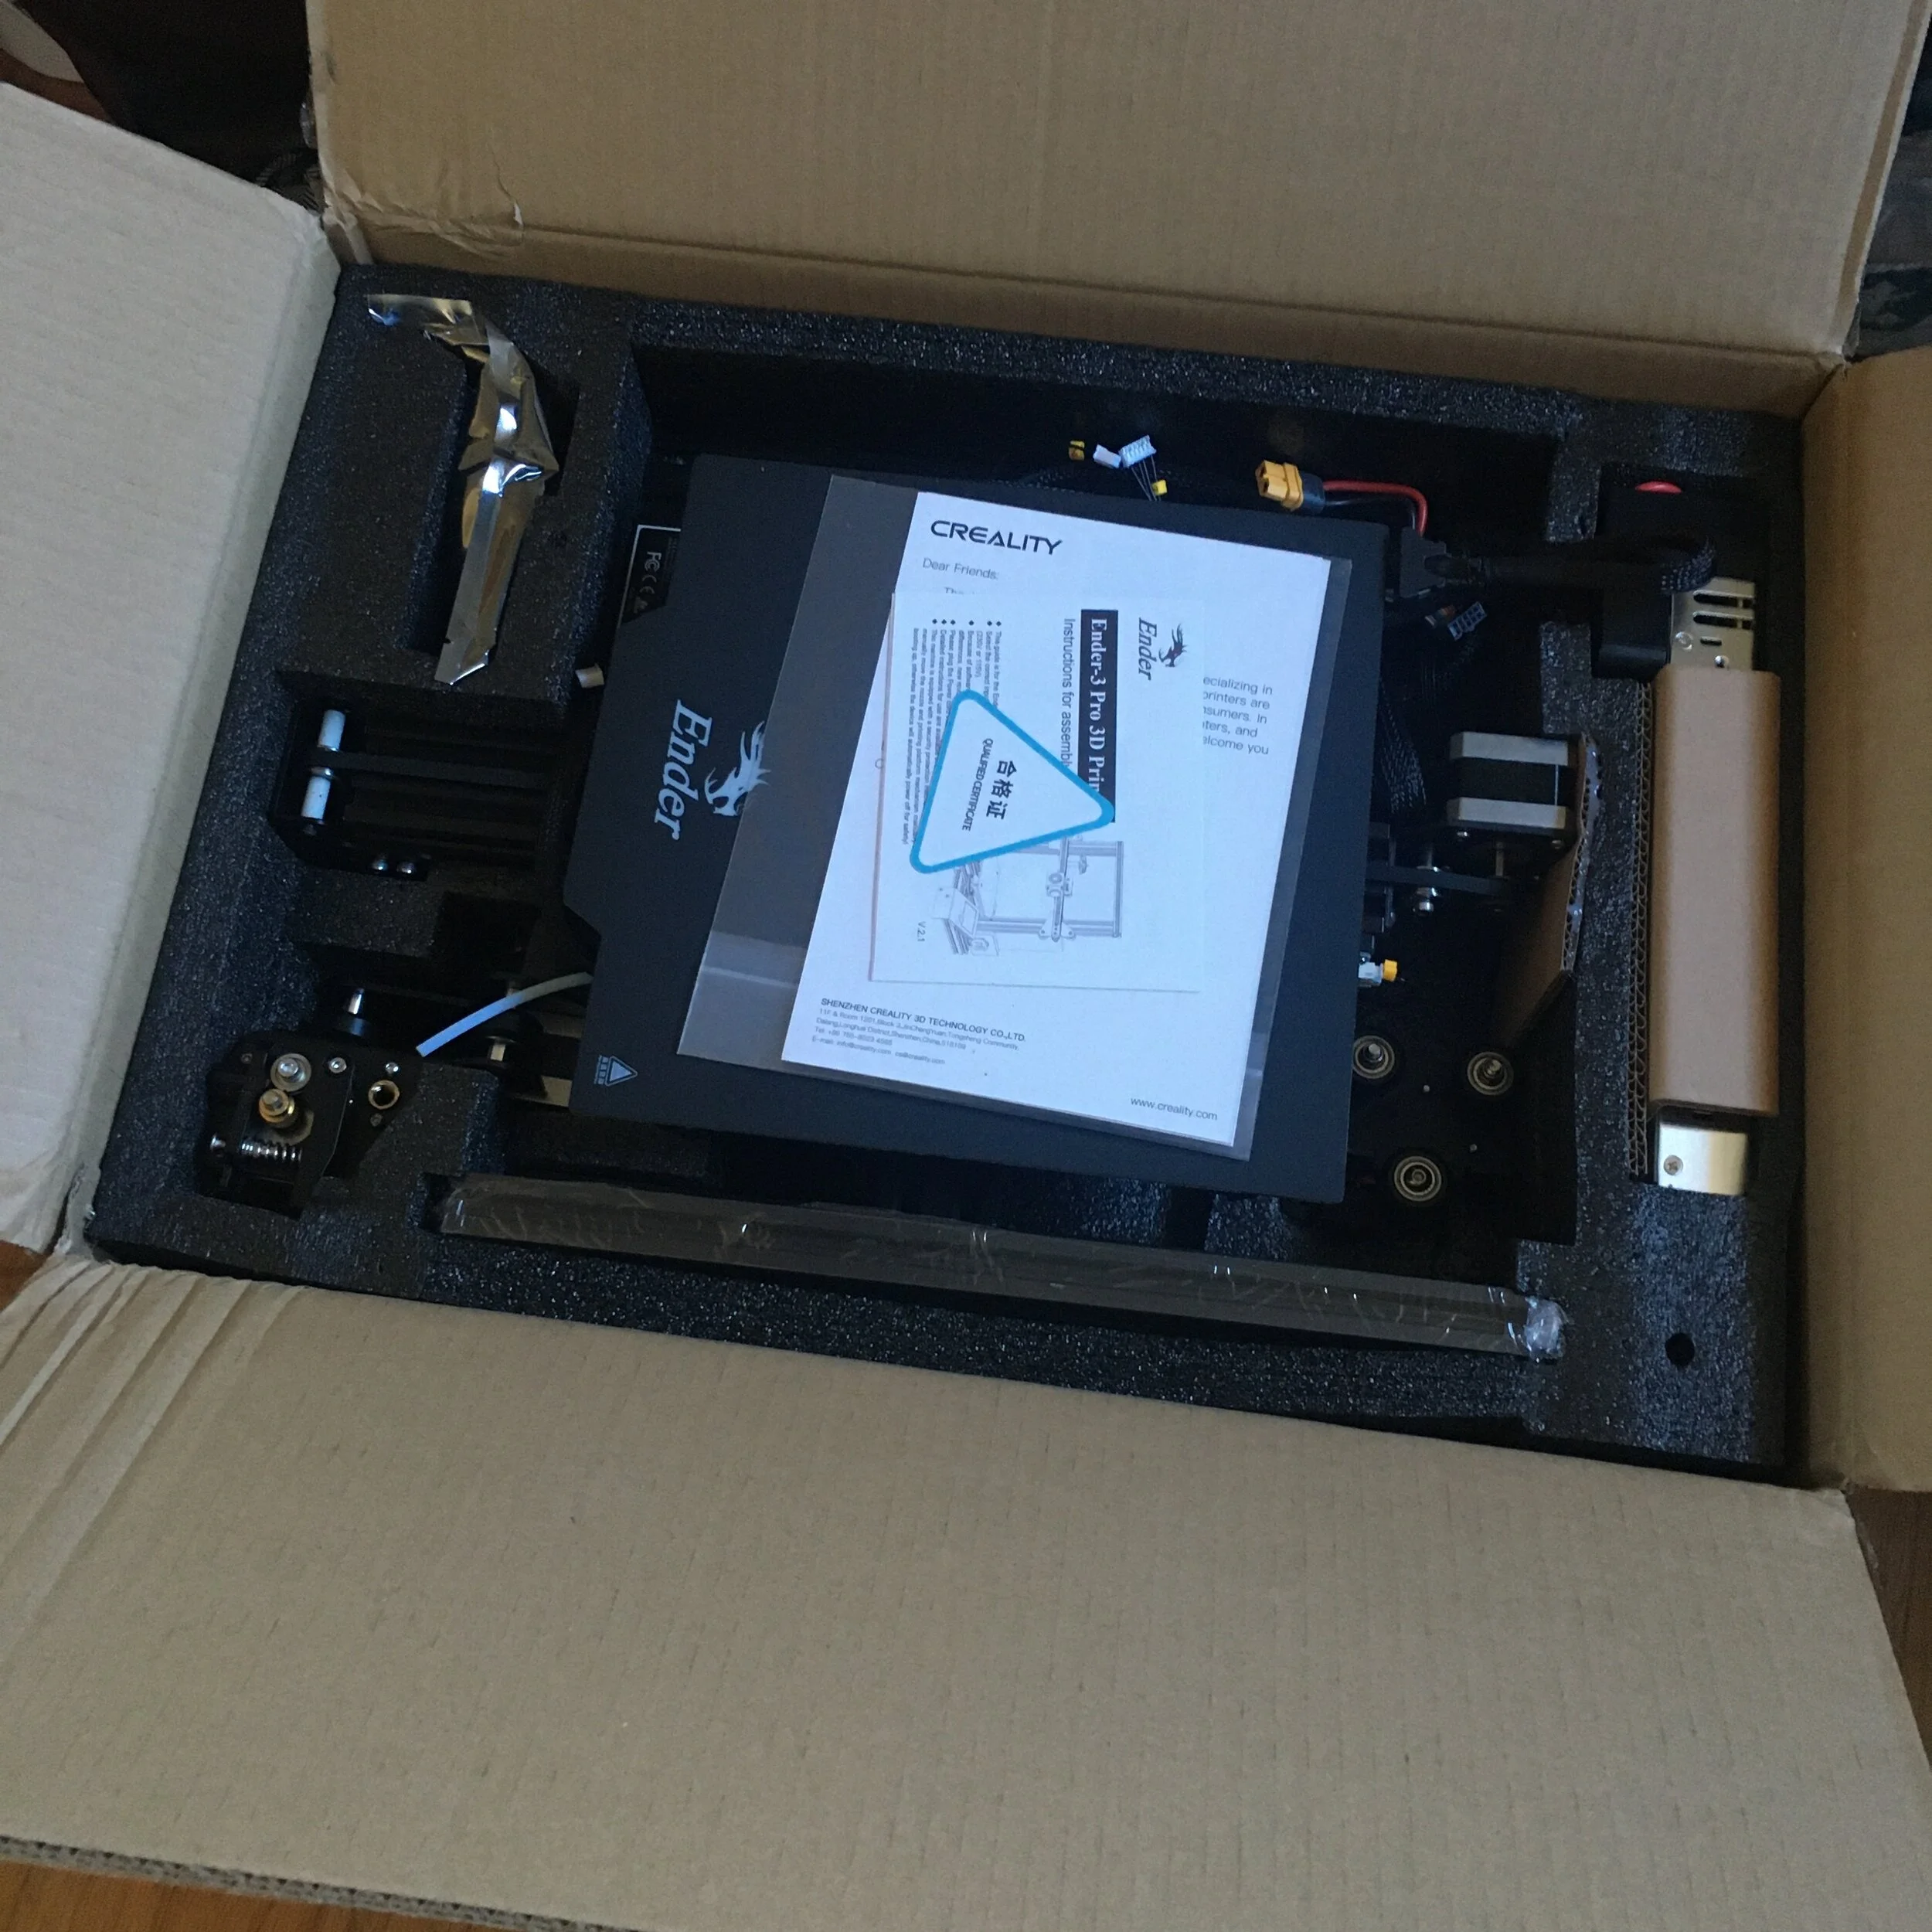
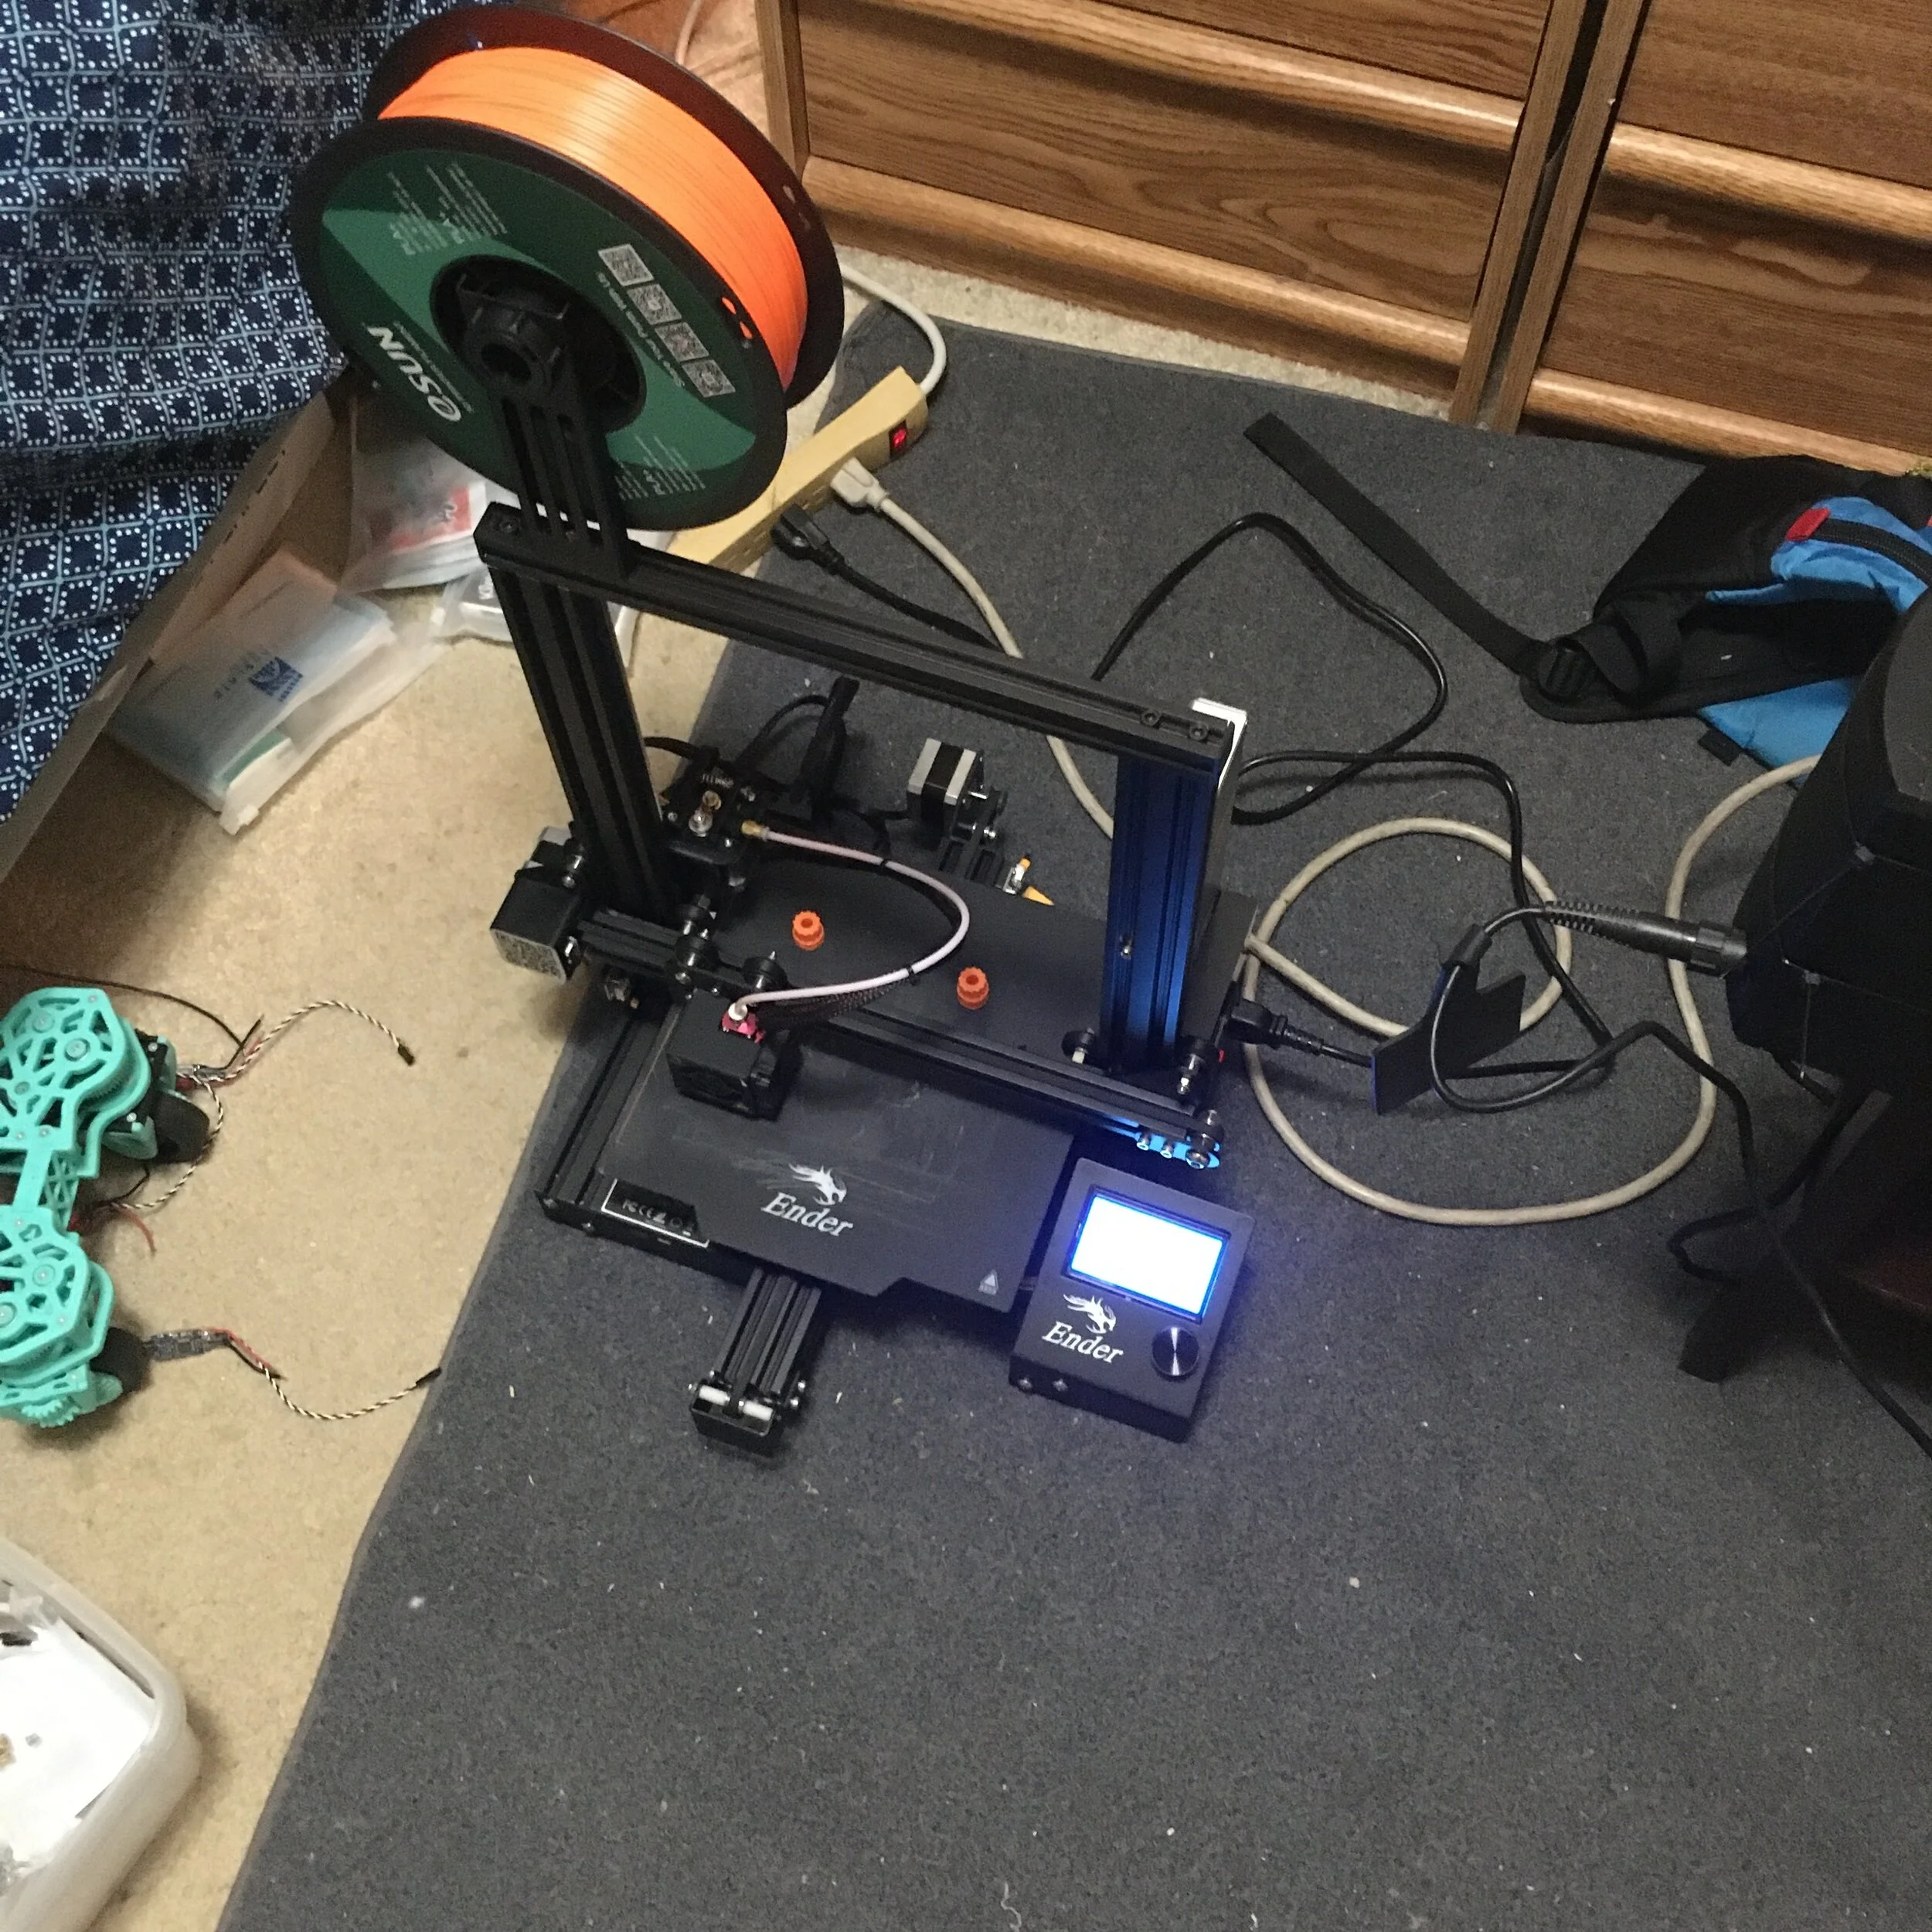
I quickly set up my new printer (~2 hours or so) and was immediately able to get very nice PLA+ prints out of it. I decided to skip PLA entirely and went for PLA+ which has additives which typically help with printability, as well as reducing the brittle nature of pure PLA. I’ve been extremely happy with eSun’s PLA+ (not all PLA+ are created equal) and it’s cheap enough that I use it as my general material when I don’t specifically need NylonG or TPU.


Now on to the upgrades. I found there were 6 main things I needed to focus on.
1st, NylonG needs to be printed at higher temperatures (~260C is where I print) and the stock hotend on the Ender 3 Pro has a PTFE tube which will melt at 260C for extended periods of time.
2nd, the NylonG is quite abrasive, and so a hardened nozzle needs to be used.
3rd, TPU can come in very soft grades (ex: 60a durometer) and so a direct drive extruder can help with preventing binds when compared to the stock Bowden extruder
4th, NylonG sticks very well to Garolite (G10) due to its porous nature
5th, NylonG is extremely hygroscopic and absorbs moisture from the air. This causes the trapped water in the filament to boil when being printed, resulting in pockets in the printed part and thus lack of structure.
6th, a lack of an enclosure can cause prints to vary in quality due to weather, and can cause the heaters to work unnecessarily hard.
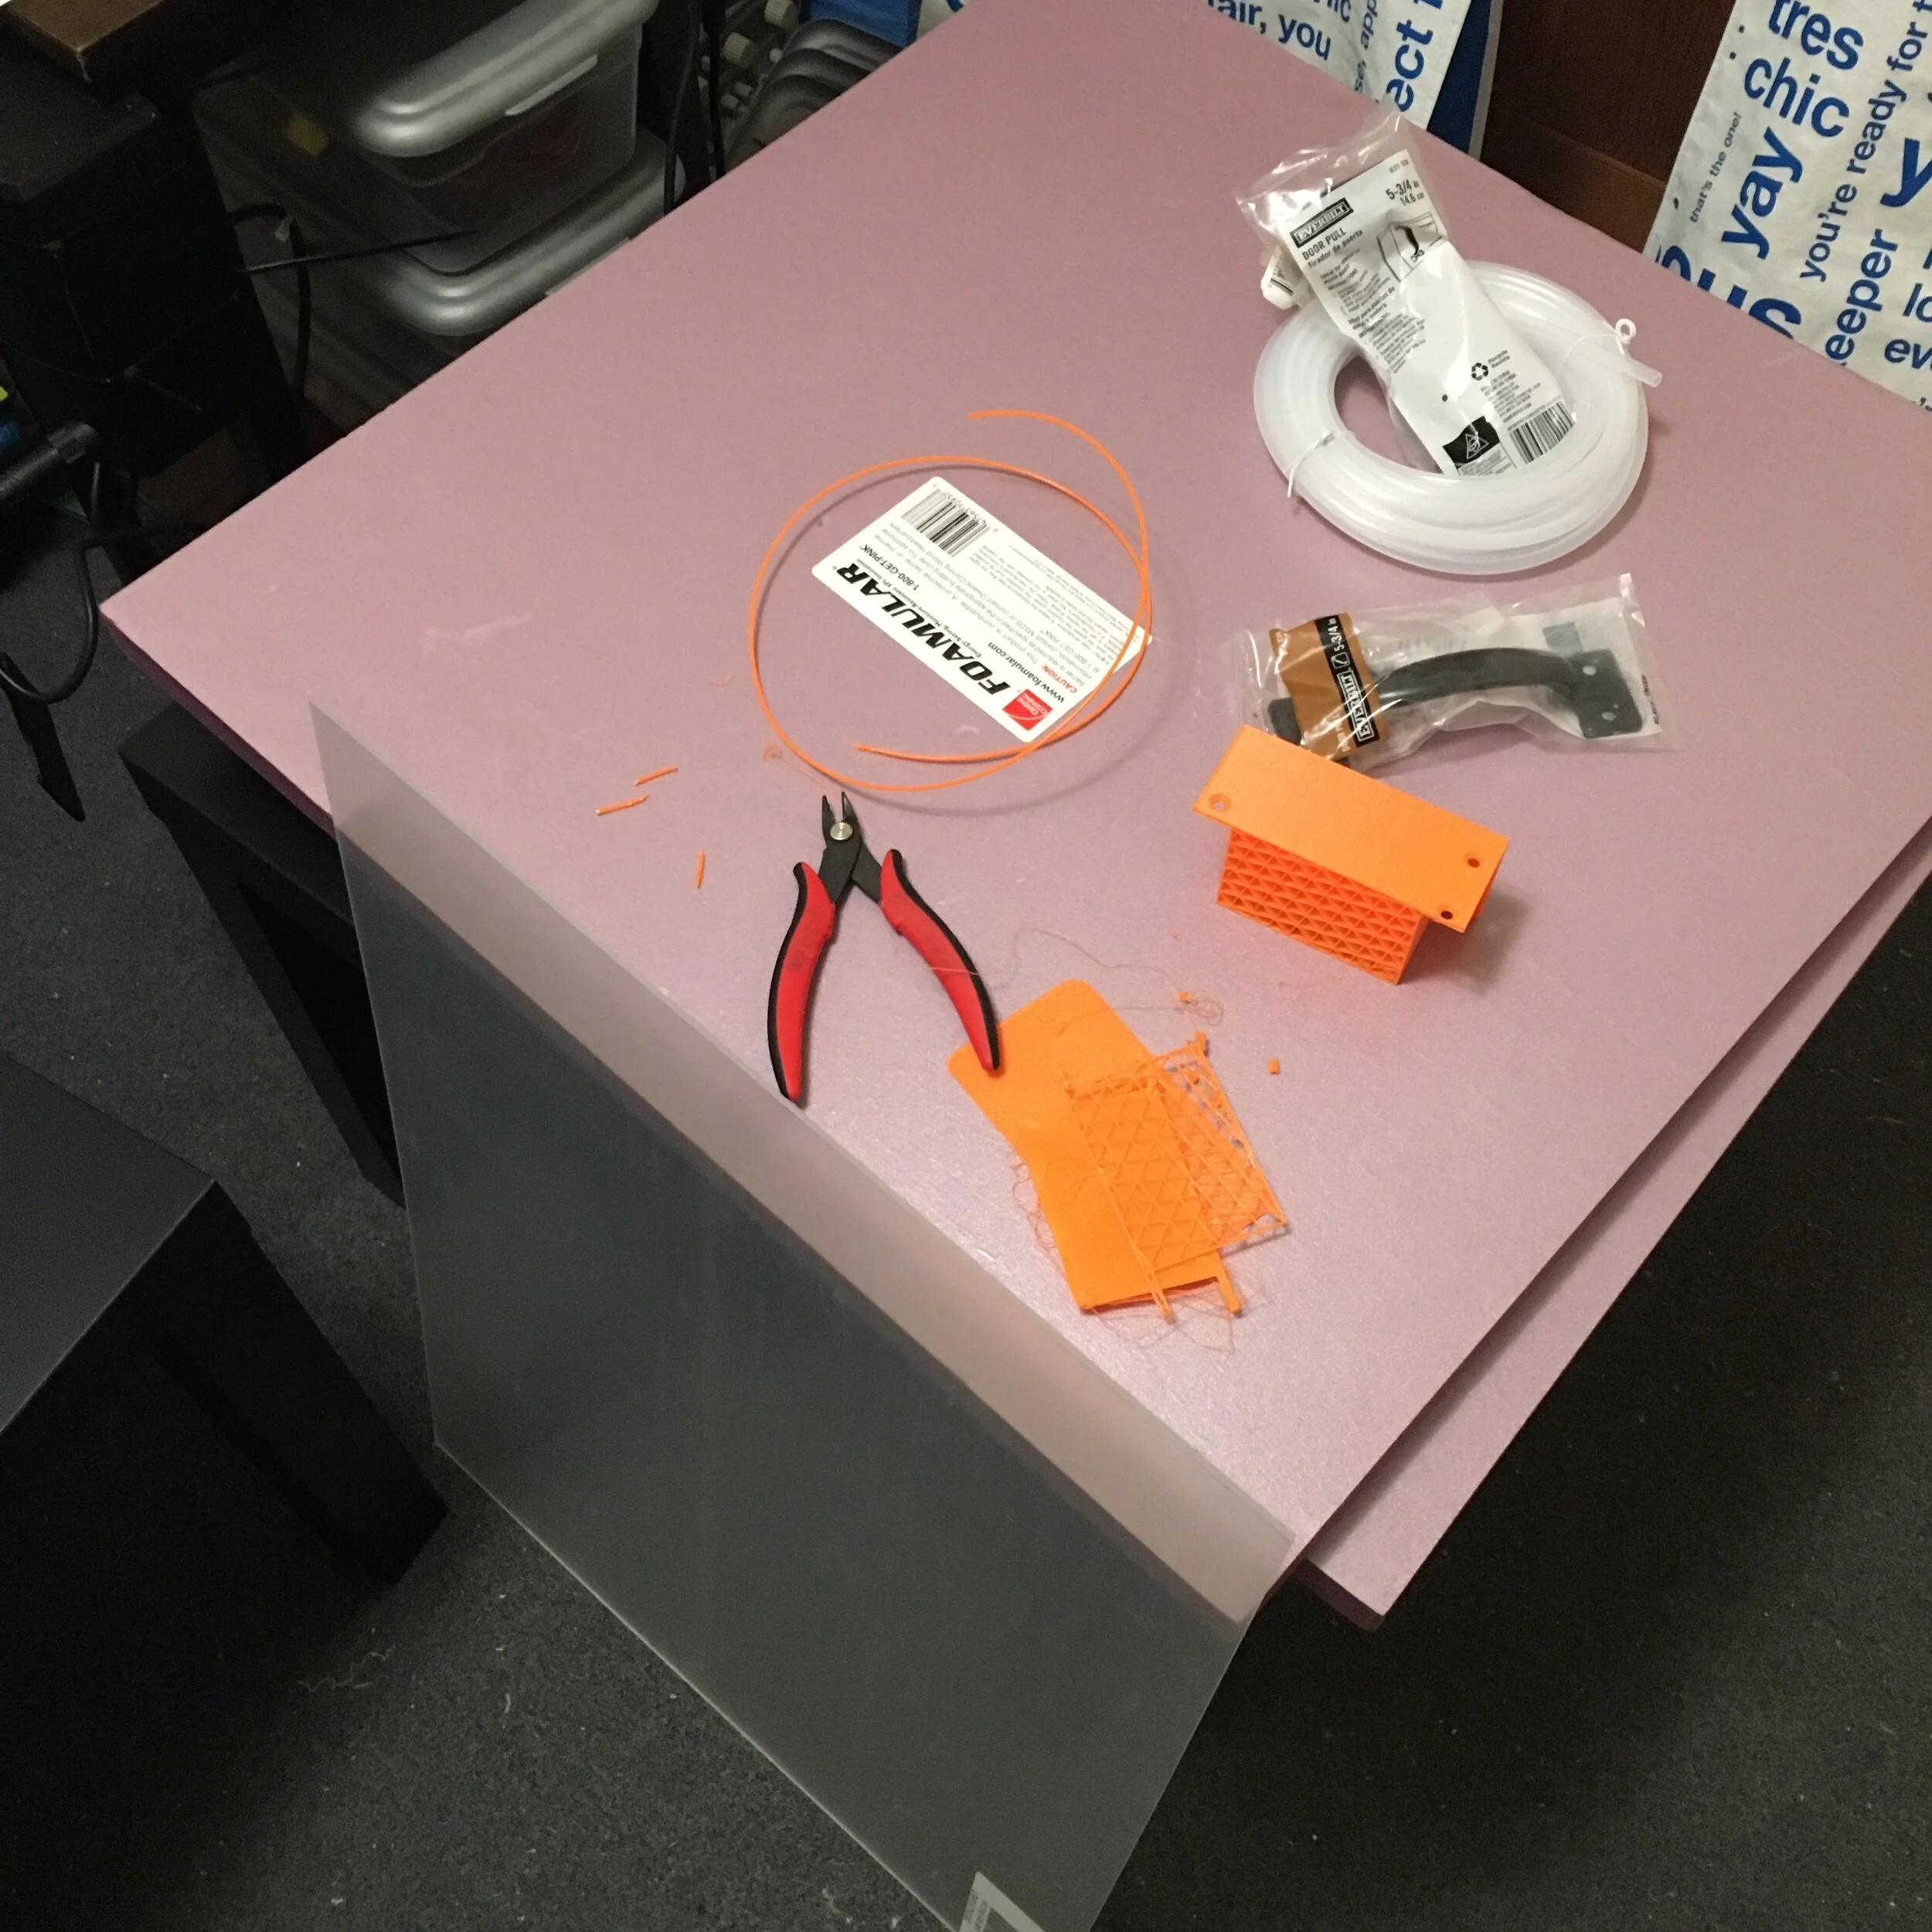
I was able to solve the first 3 problems with one off the shelf solution that came as a kit: the MicroSwiss direct drive extruder upgrade for $99. It comes with a hardened nozzle, a hotend without a PTFE liner, and a CNC’d direct drive extruder that bolts directly to the Ender’s X-axis carriage.
I ordered a sheet of 1/32” garolite from Amazon and dremeled it to size and have been happy with the result. I’ve been printing all my NylonG with rafts which stick well to the garolite but pop off easily with the scraper. I think a thicker garolite sheet may be better in the future though due to mild warping in the middle of the sheet where the thin sheet isn’t clamped.
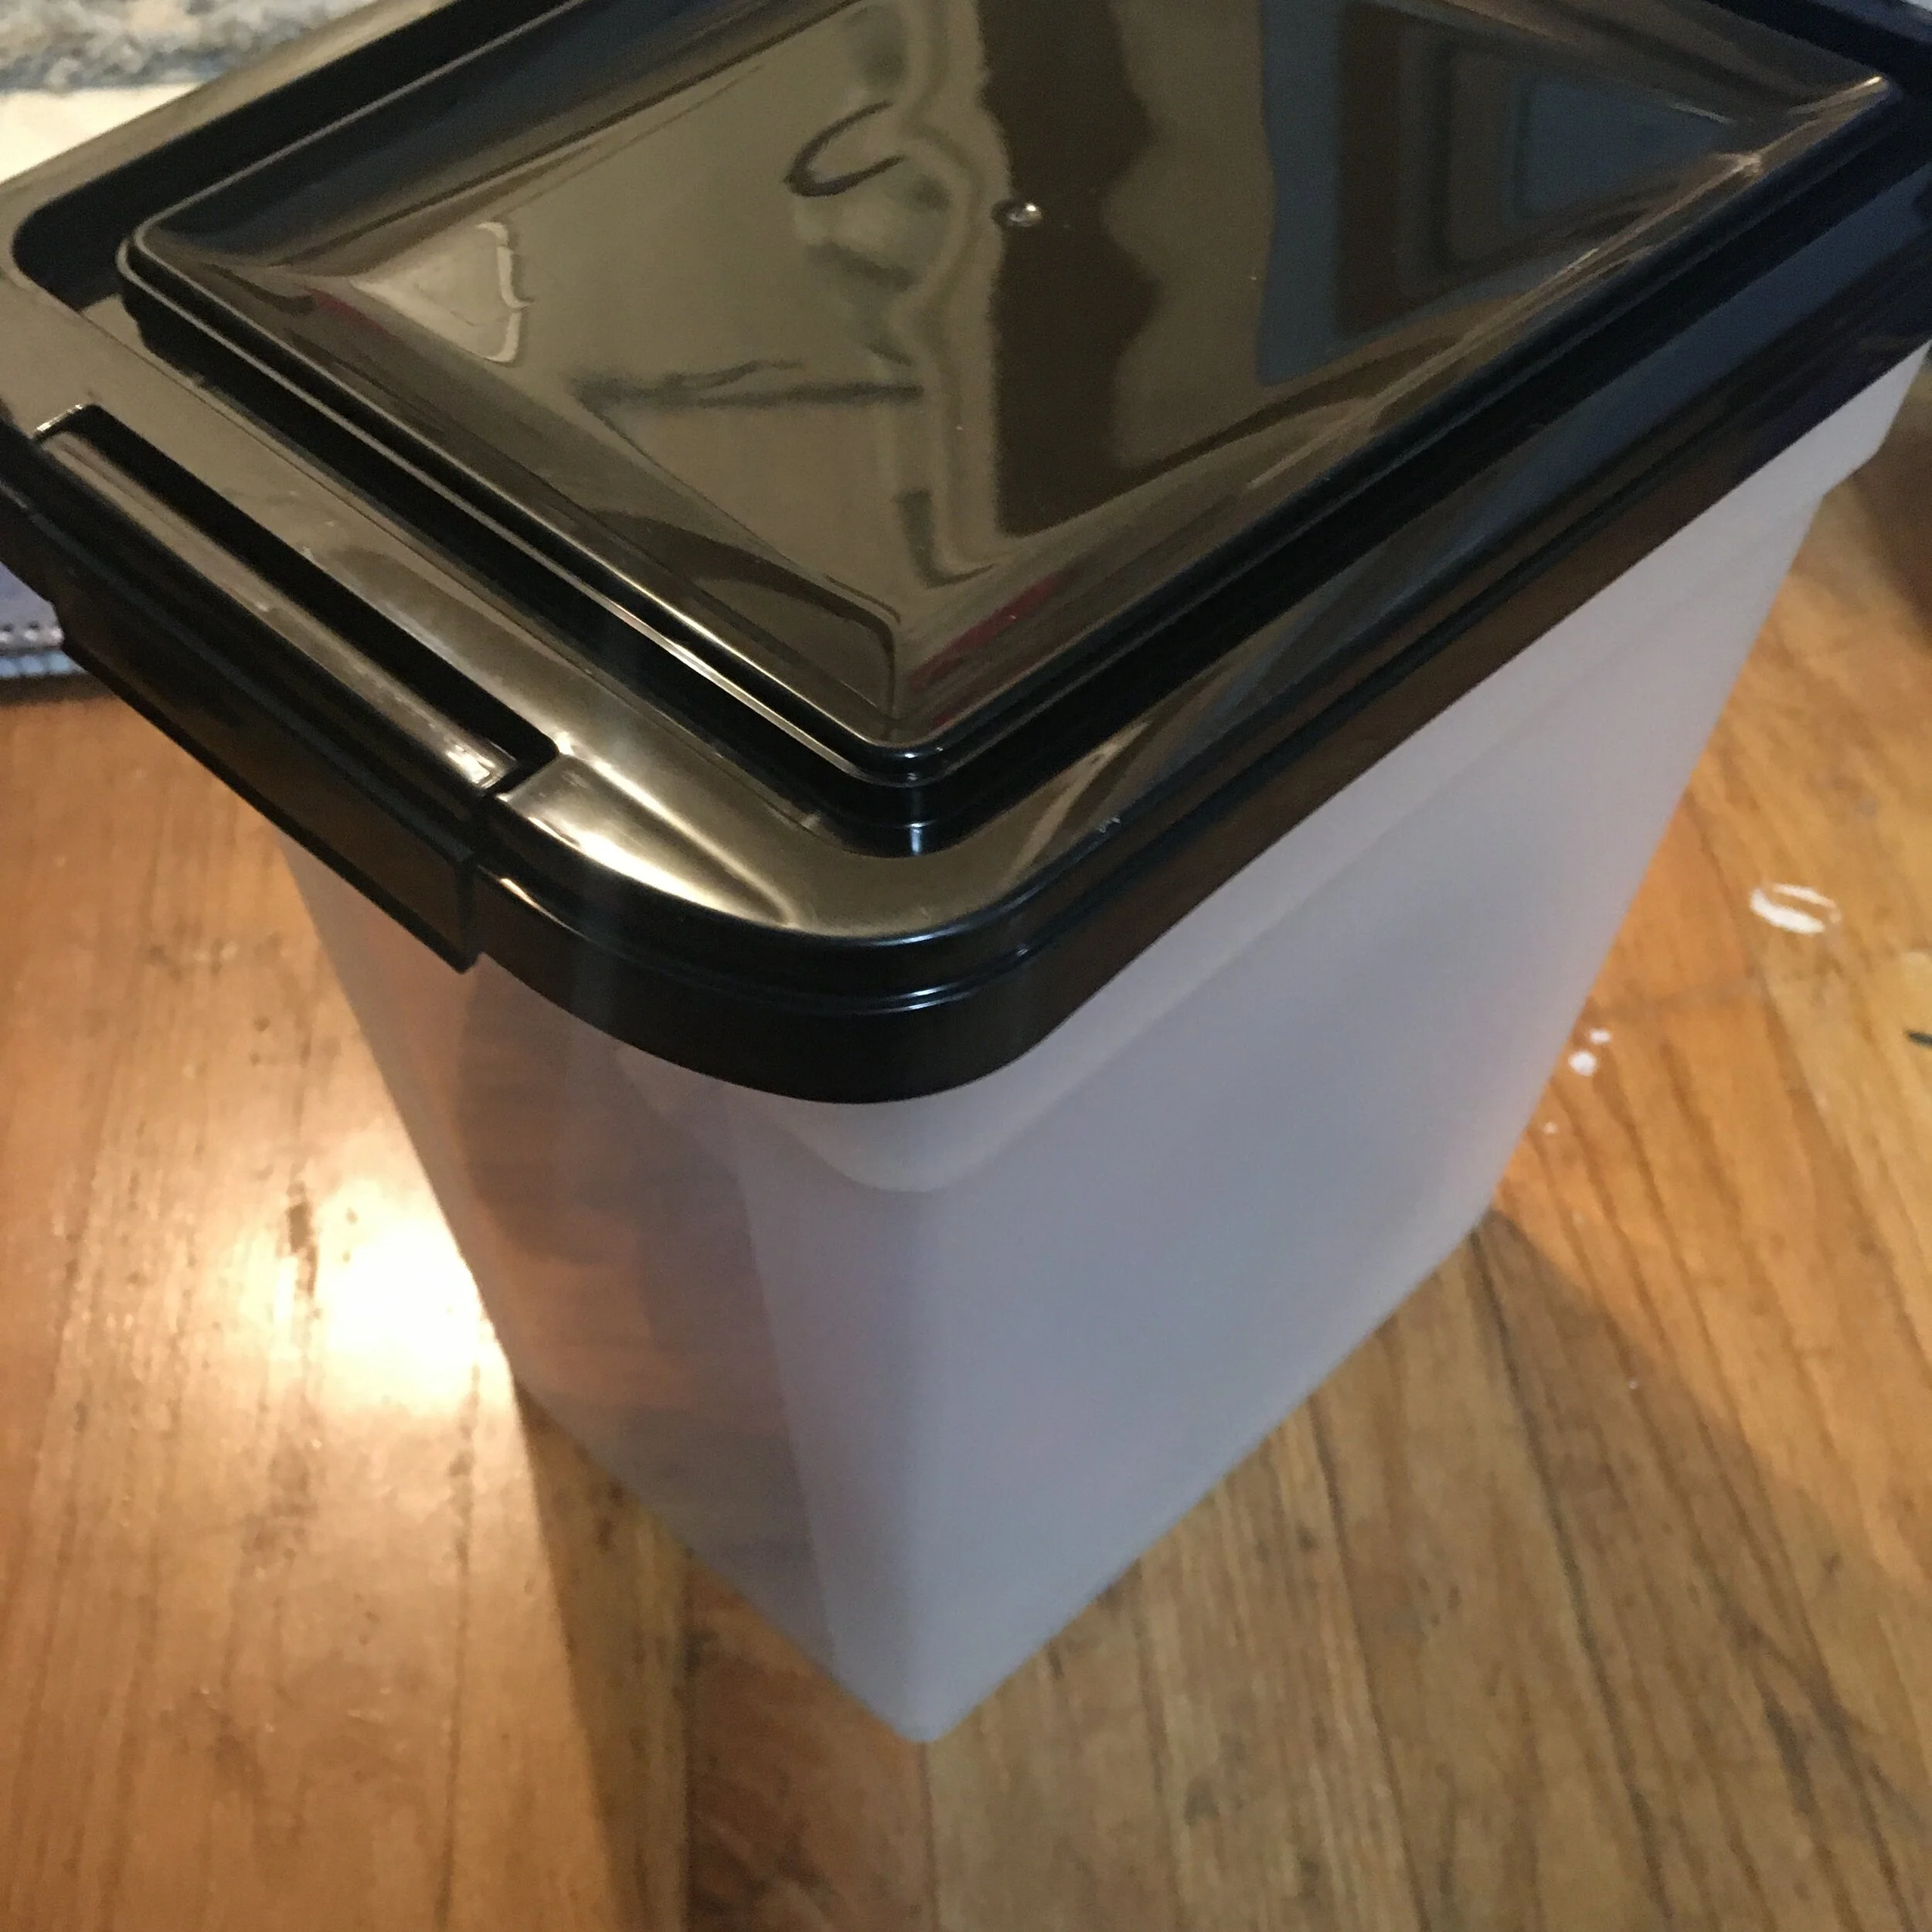
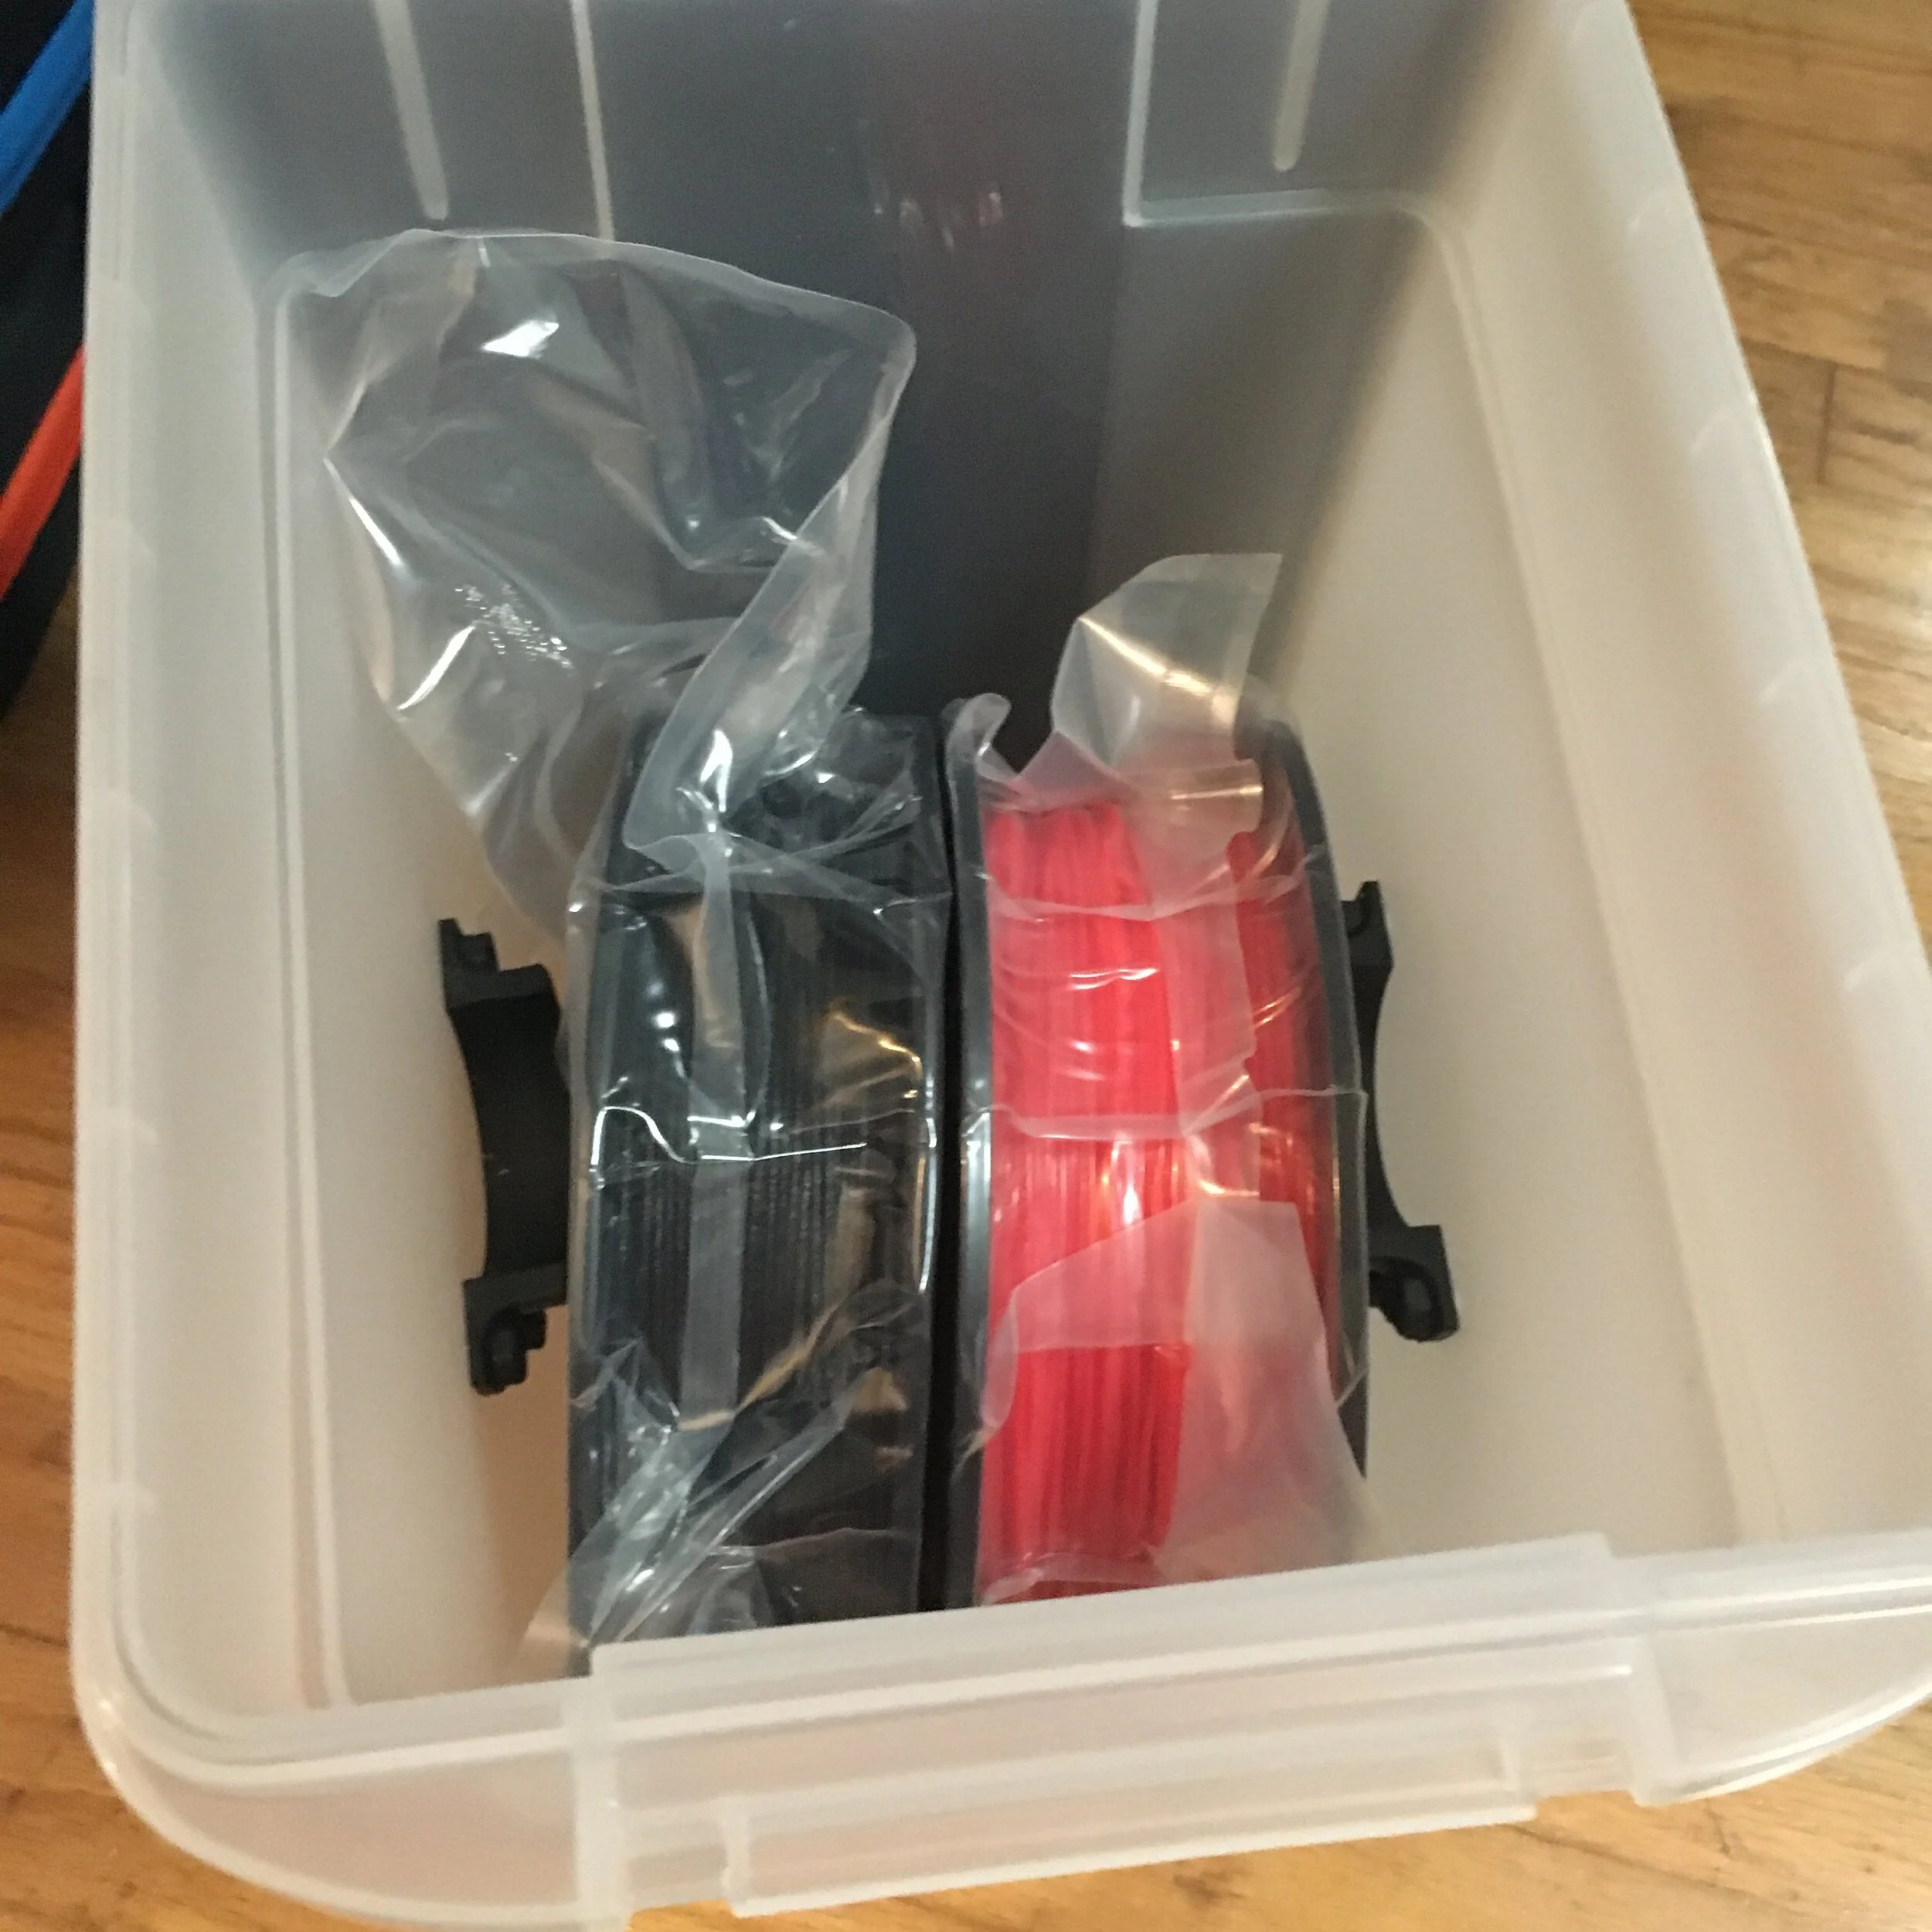
To solve the problem of the hygroscopic nature of the filament, I made my own filament drybox out of an airtight dog food container, some printed parts, and some 1/4” OD plastic tubing from Home Depot. I lined the bottom with desiccant to keep the box air dry. I didn’t get a standalone picture of the completed box but there is a printed dowel that holds two spools of filament, and the filament exits the box through a plastic tube which is hot glued into a hole I drilled in the container (to keep it airtight).

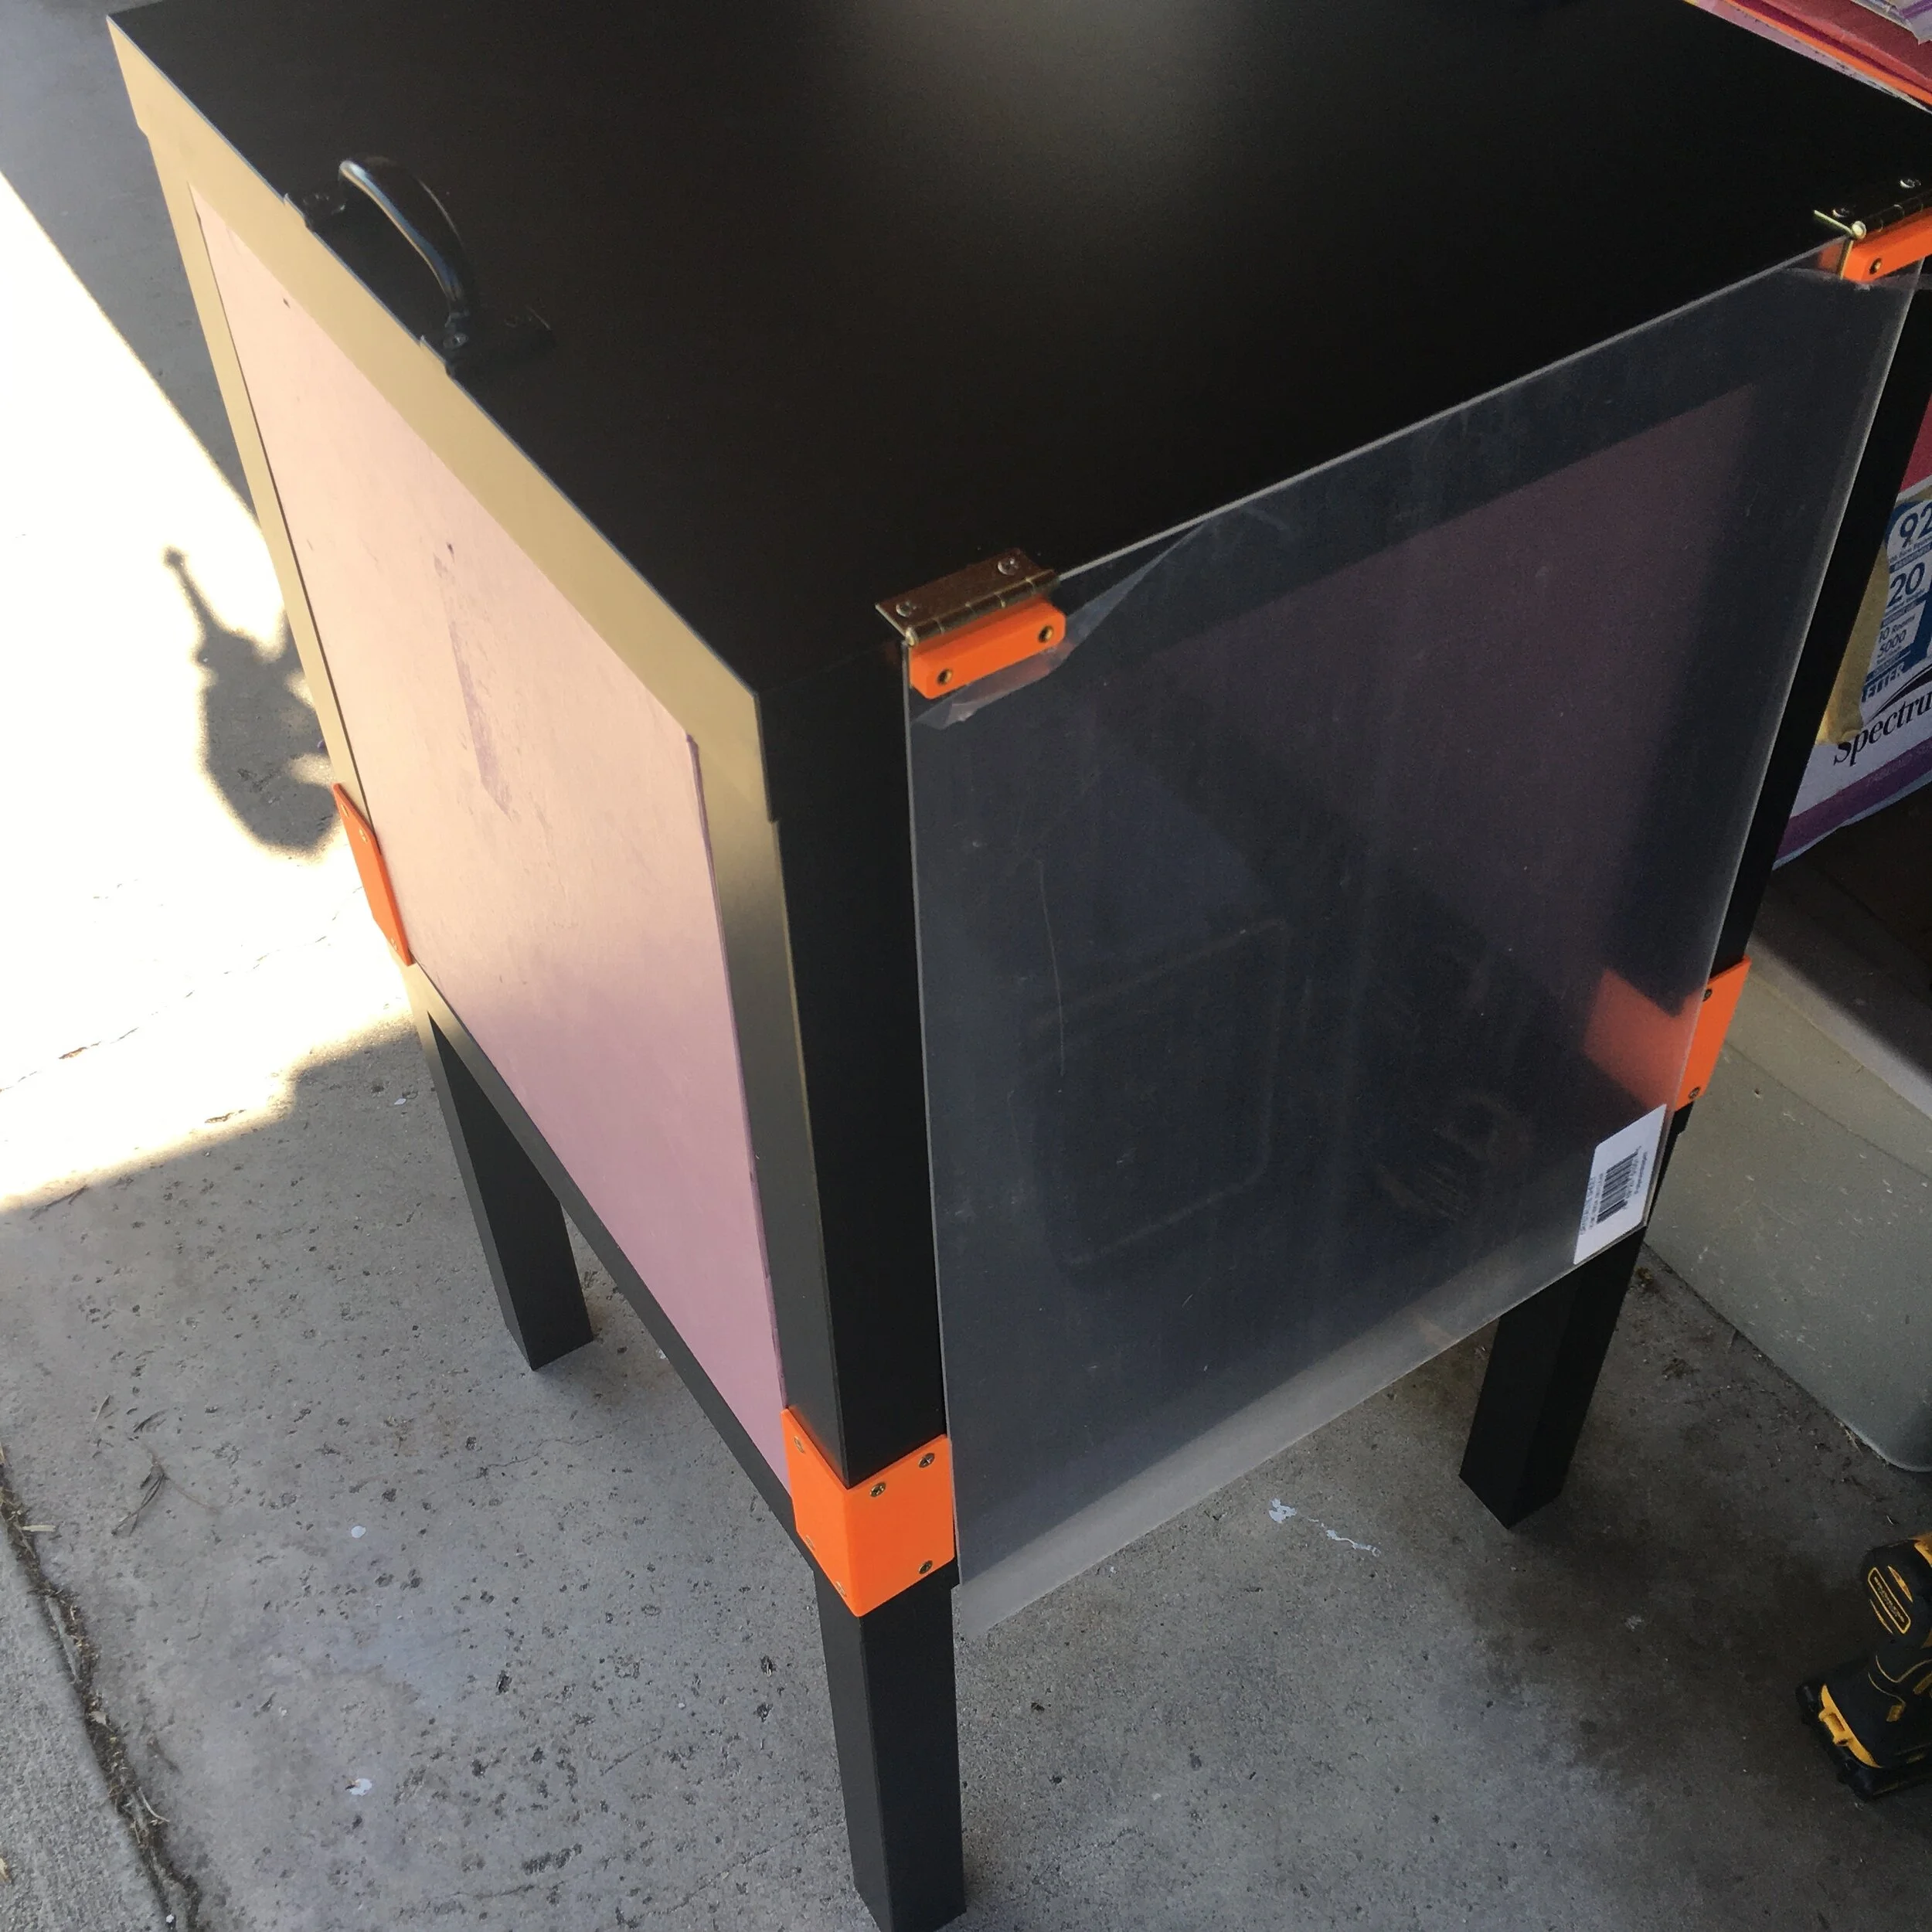
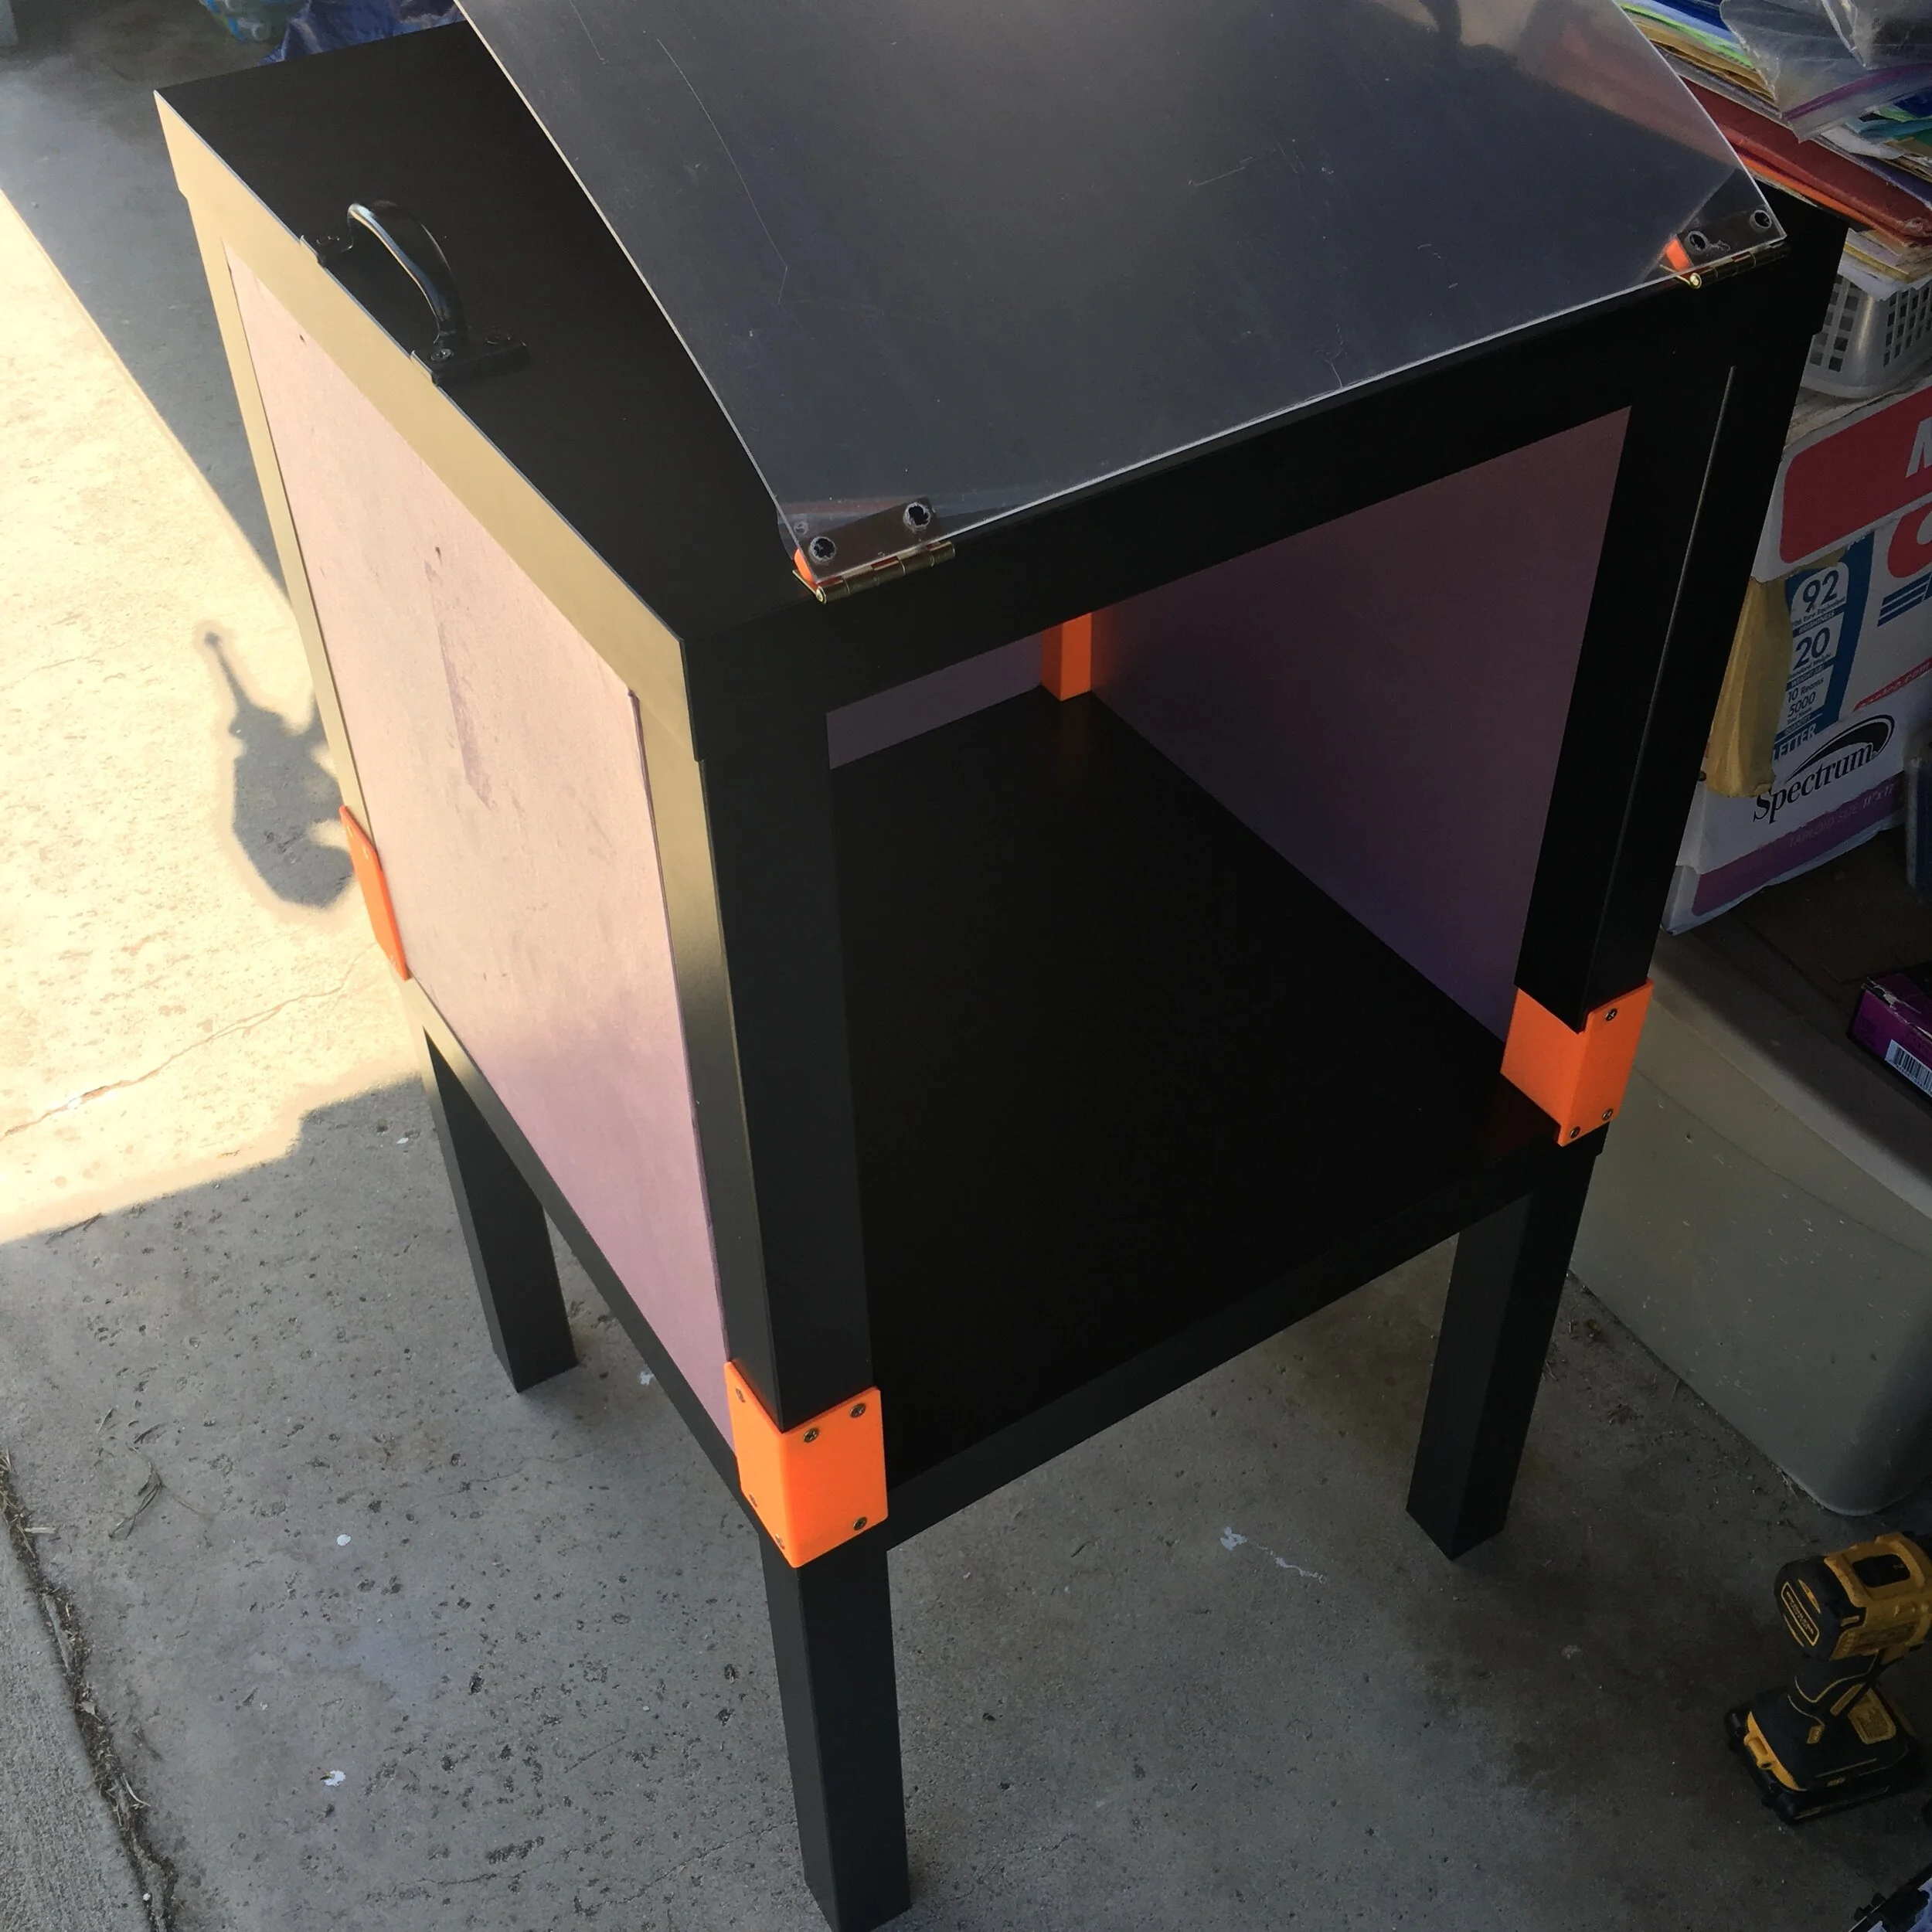
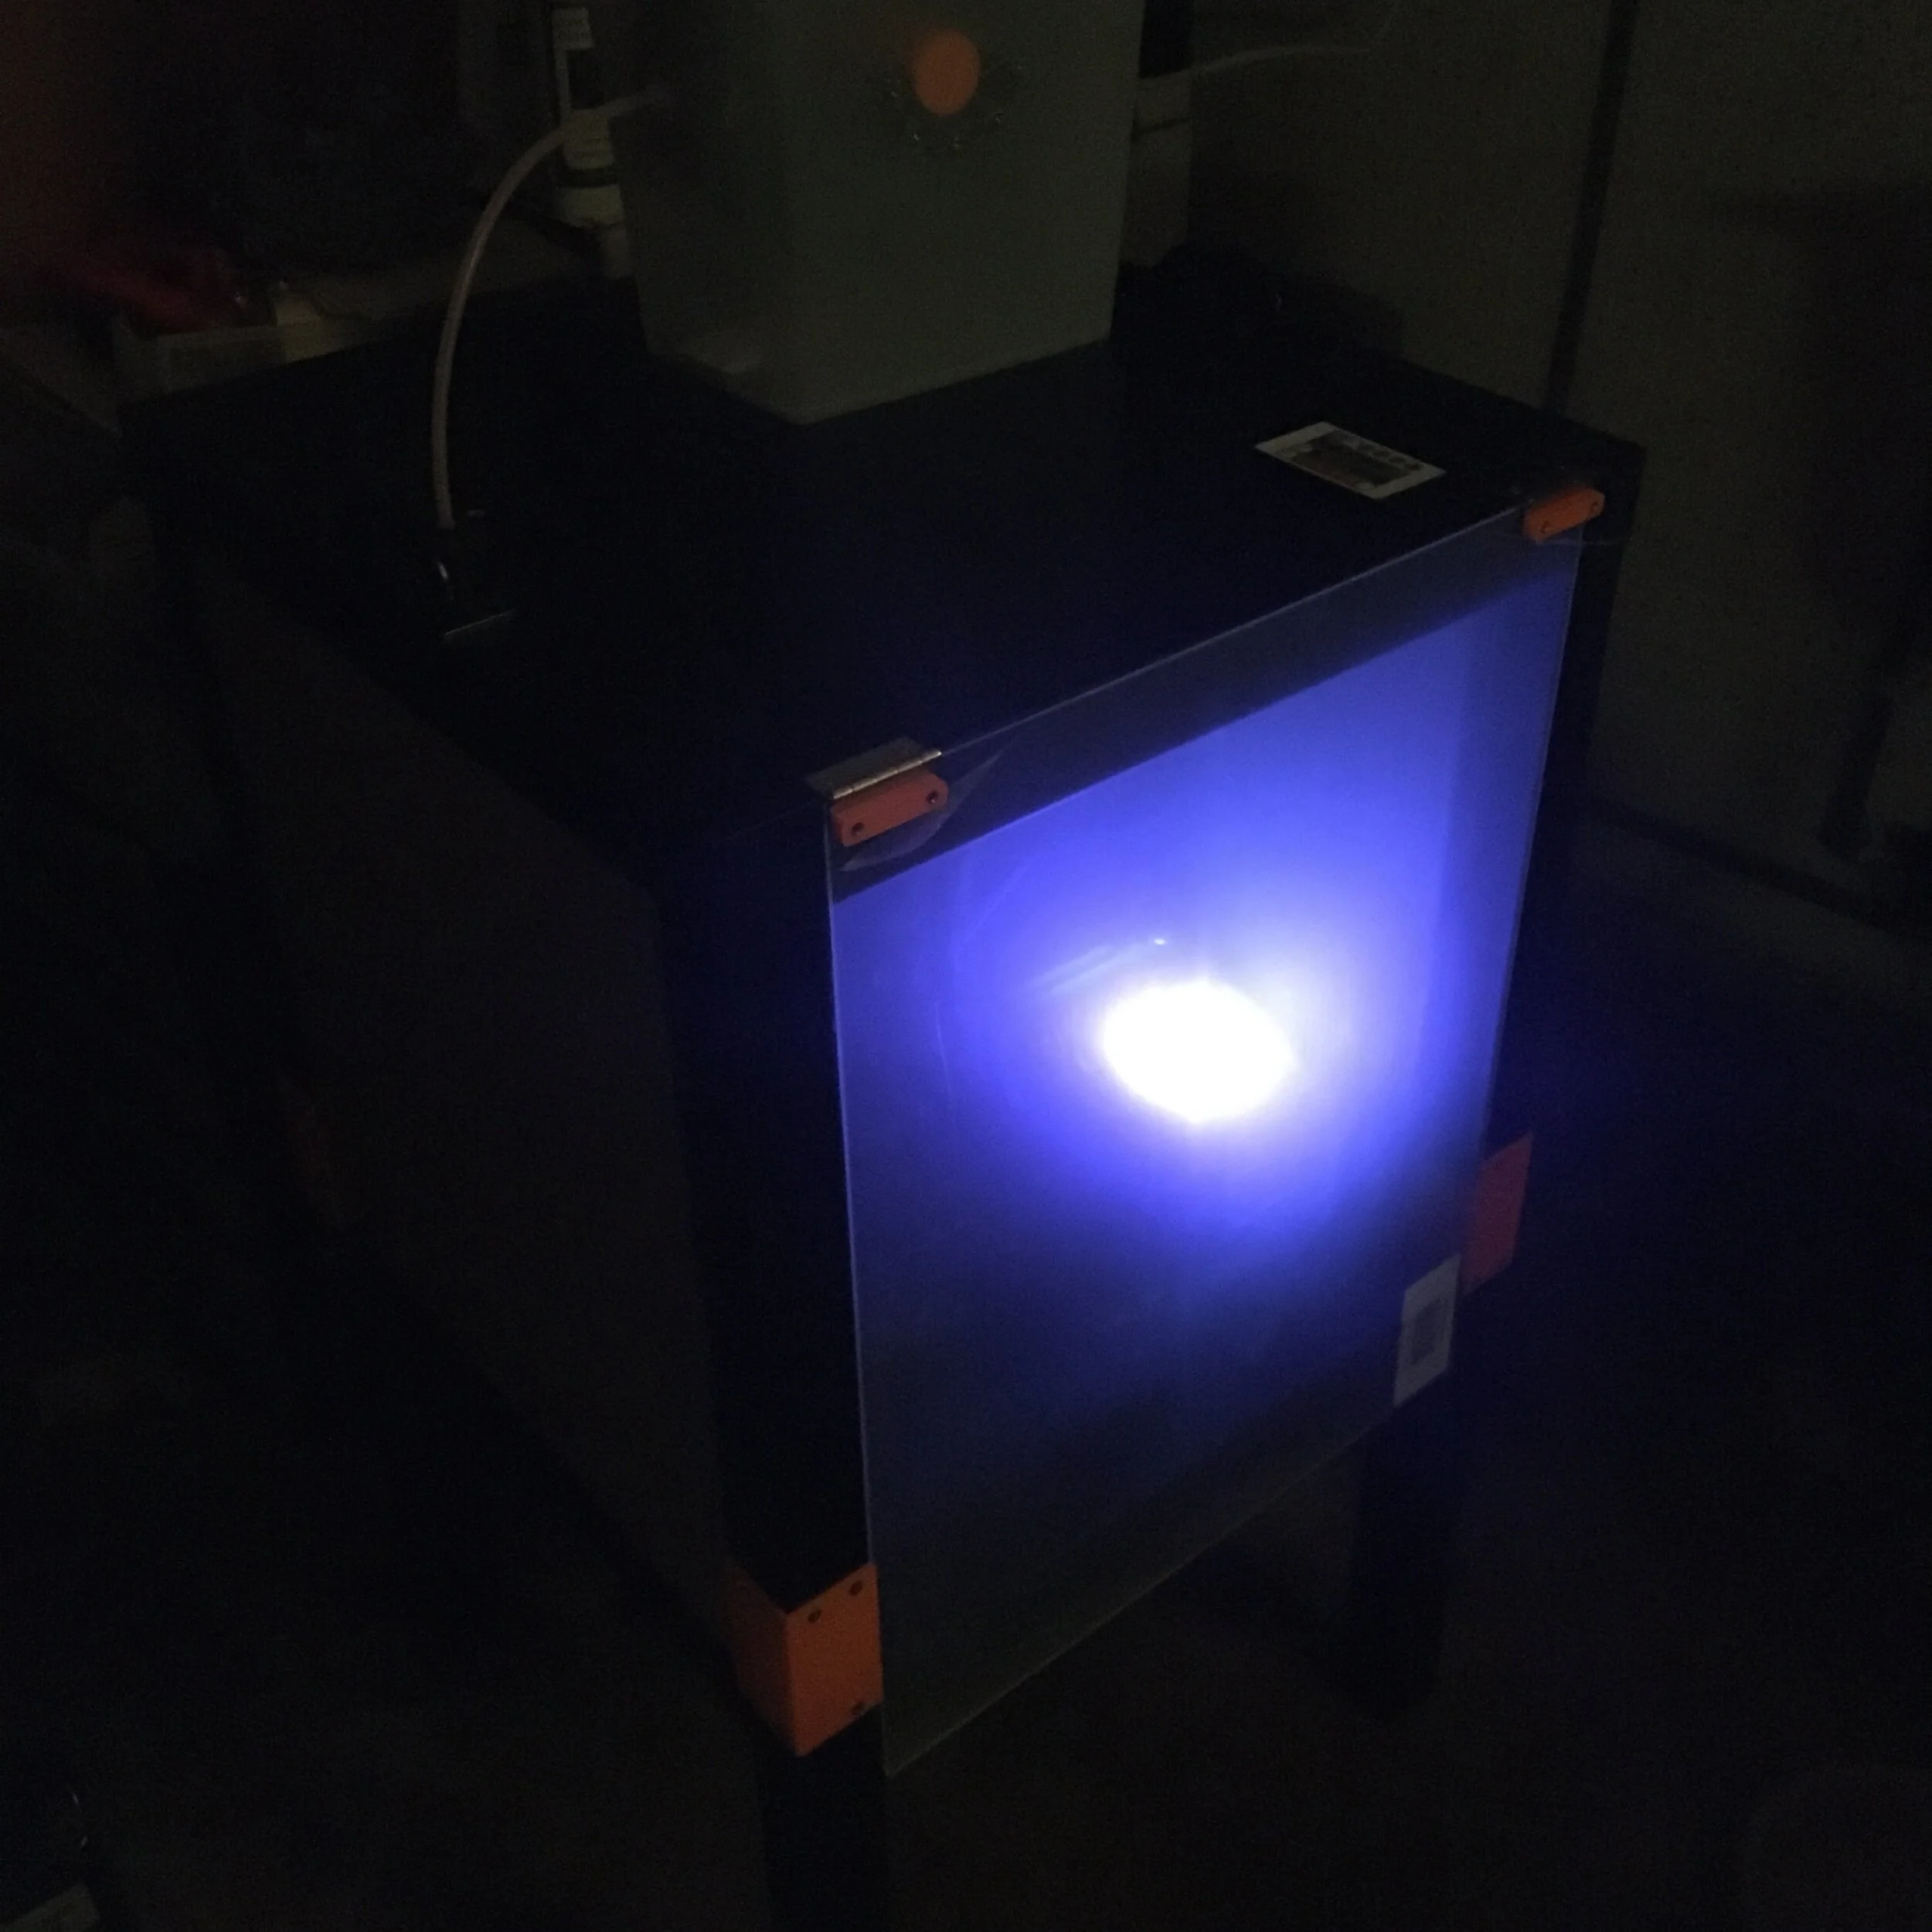
As for the enclosure, I was inspired by some Ender enclosures I saw on the internet made out of Ikea LACK tables. I bought two LACKs, wandered around Home Depot for a bit, picking up pink insulating foam, some door hinges, some drawer handles, wood screws, and a clear sheet of acrylic and went about making a simple enclosure. The door pivots up so that gravity naturally keeps my enclosure shut.

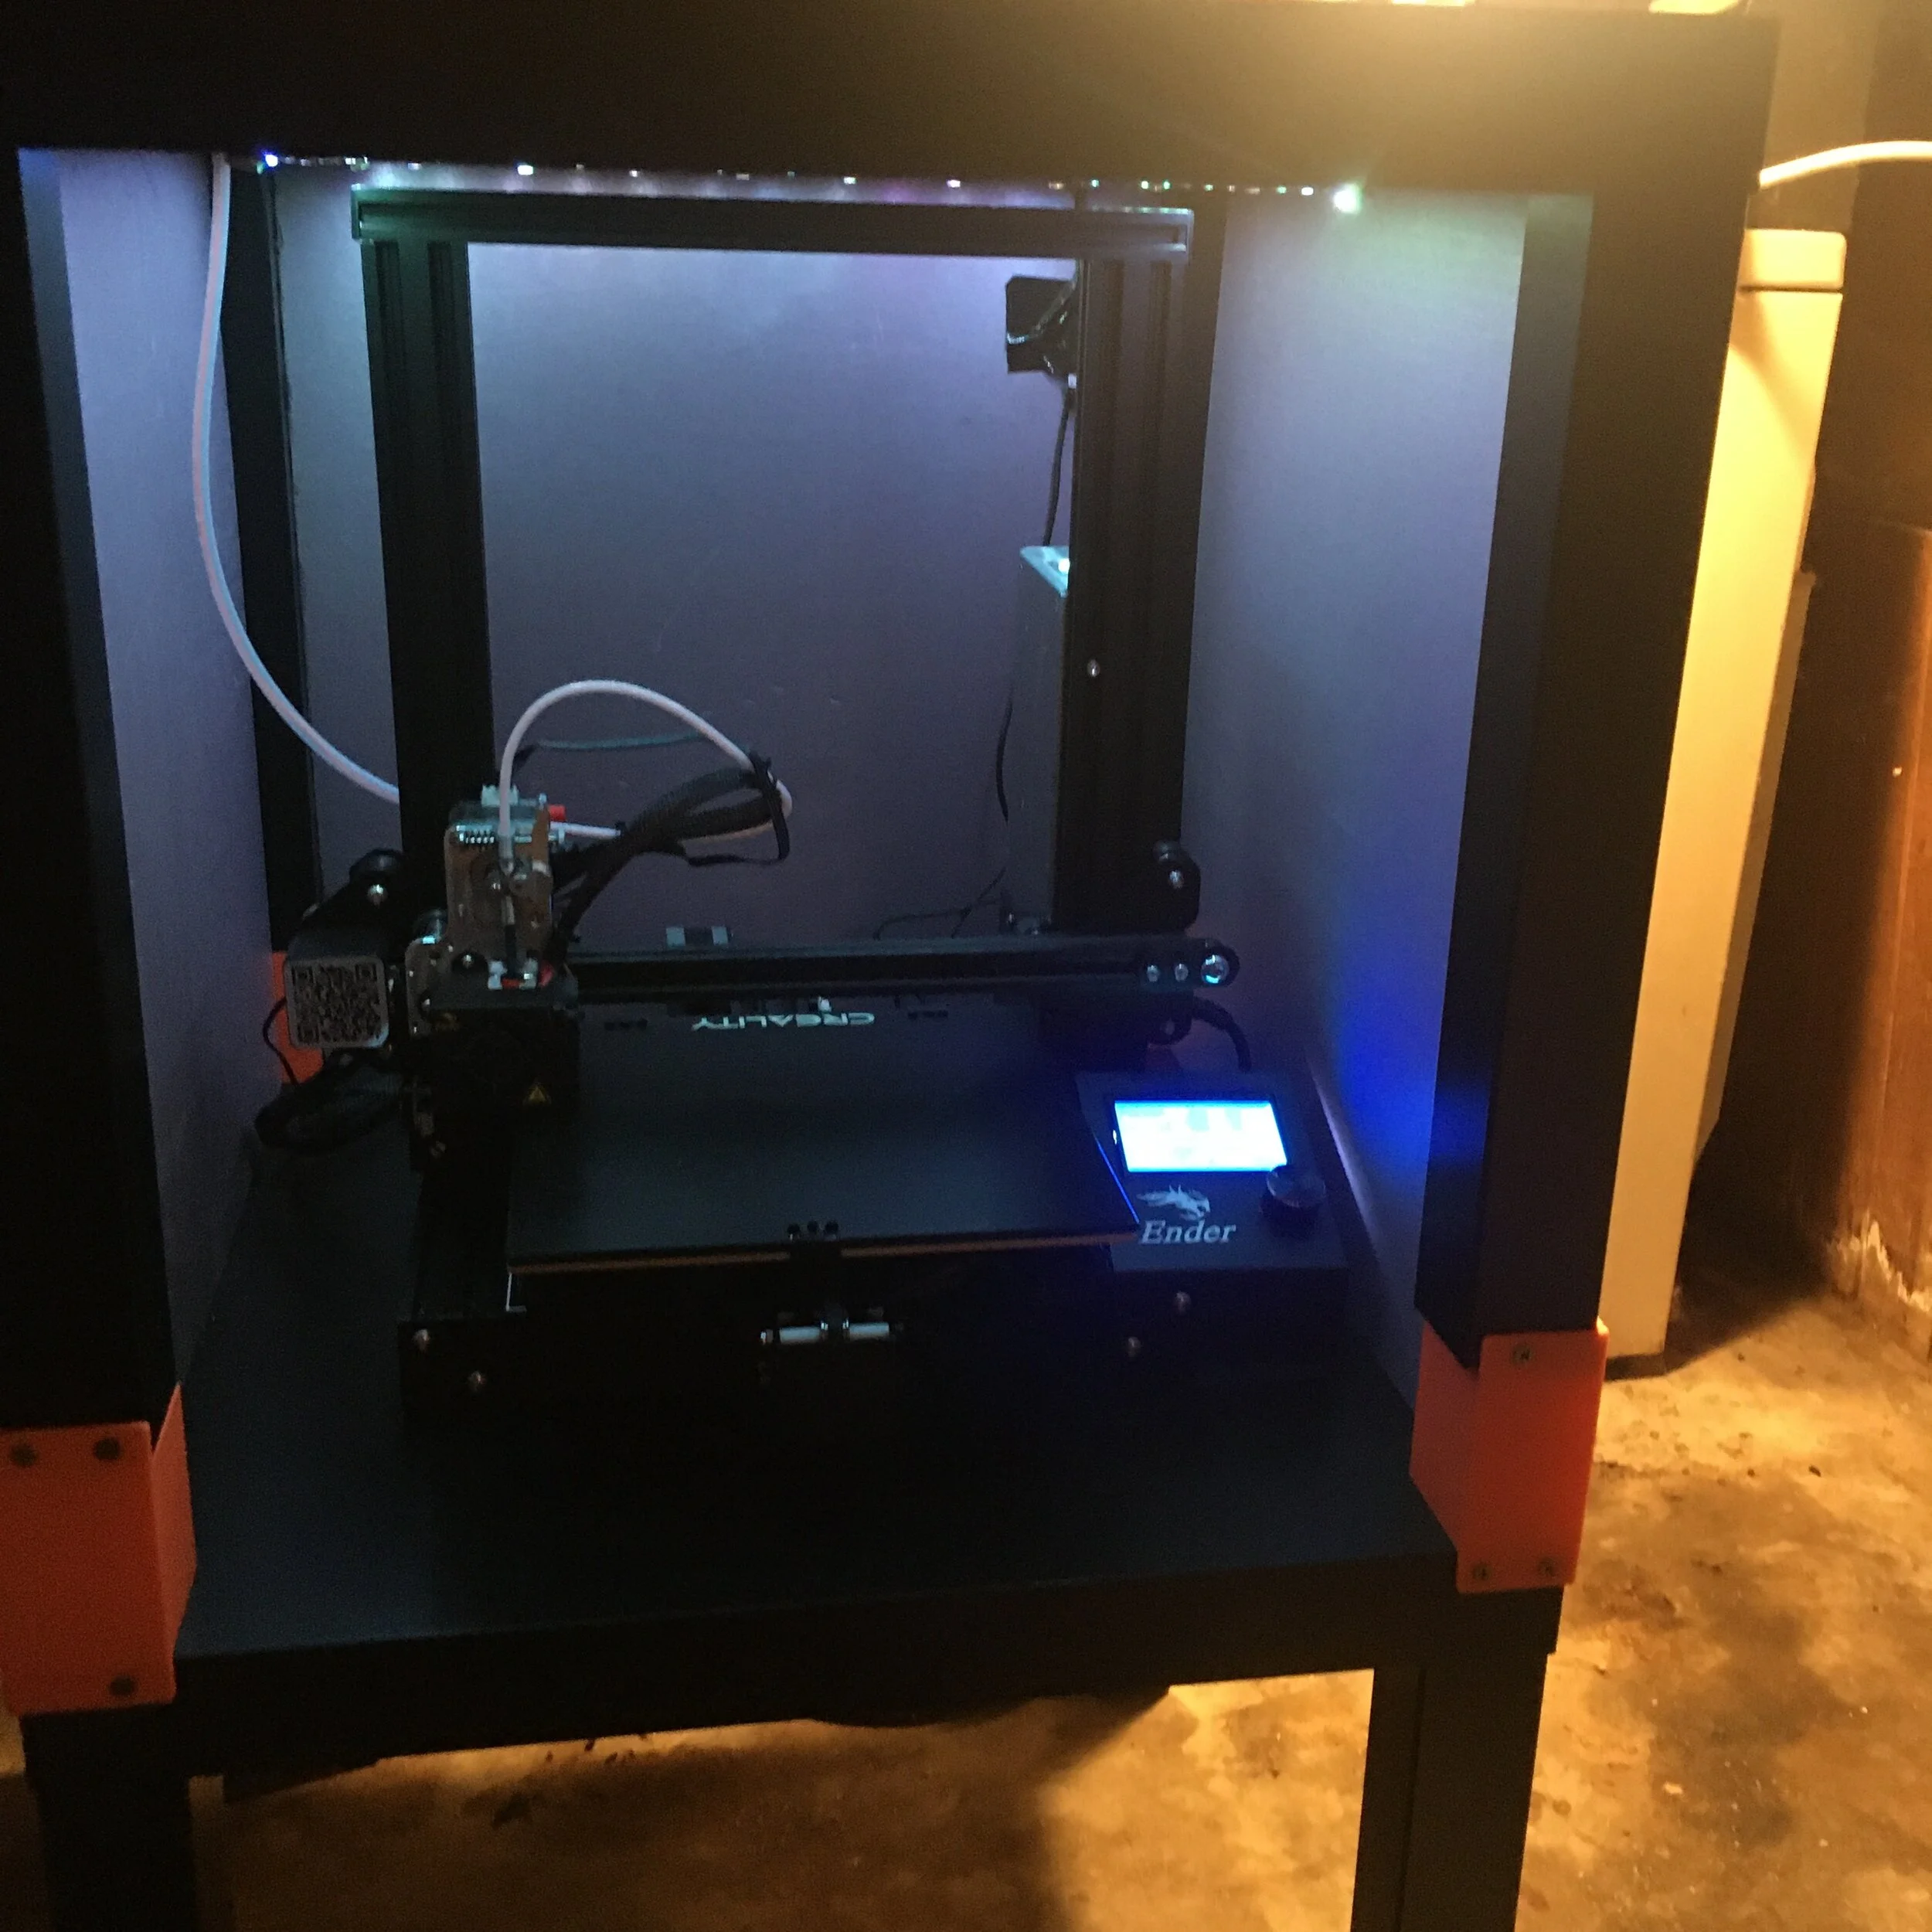
I realized it was a little dark in my enclosure so I decided to add some Amazon LED strip to help with that. Fortunately the power supply on the Ender uses an XT60 to provide power (24V) to the printer and so I made a sketchy XT60 -> 7805 hot glue blob to get some 5V for my LEDs. I put my drybox on top of the printer, drilled a hole for the plastic liner to enter the enclosure and have been printing ever since! Because I’m doing a massive dump of blog posts all at once, I’ll save the pics of the gorgeous NylonG prints for the other posts. But spoilers: this printer setup is fantastic!
One other side comment I’ll add about printing NylonG and hygroscopic materials in general. The internet in general claims you need to bake your filaments or buy a food dehydrator (or “filament dehydrator” if you want to spend more money for no reason) to keep it dry enough to print. My experience has been that as long as the filament goes straight from the vacuum-sealed bag to my drybox with desiccant packs, there is no wet nylon problem (thank you Jamo for the advice!)