
Uppercut Toy Design Pt 1

I’ve been thinking for a while that it’d be cool to take apart one of the Hexbug (VEX) Battlebot RC toys and reuse the guts to make an Uppercut toy. I’m still figuring out the quirks of my printer (ex: turns out all the Swerve parts I printed were mirrored which I only realized during assembly. Didn’t affect the Swerve though) so I decided to just make a printable model of Uppercut first. To test the limits of my printer I scaled the design so it would just barely fit into the build volume of my printer, and ended up with a 6:1 scale model.
Now one might think that printing a model of Uppercut should be really easy given that I already have the complete CAD model. Unfortunately Insert->Feature->Scale in Solidworks doesn’t quite work in real life. The steel parts become way too thin (they’re 3/16” to begin with), and printing the whole thing as a blob leaves supports in impossible to get places, as well as wastes a lot of material. So essentially I had to start with fresh CAD.
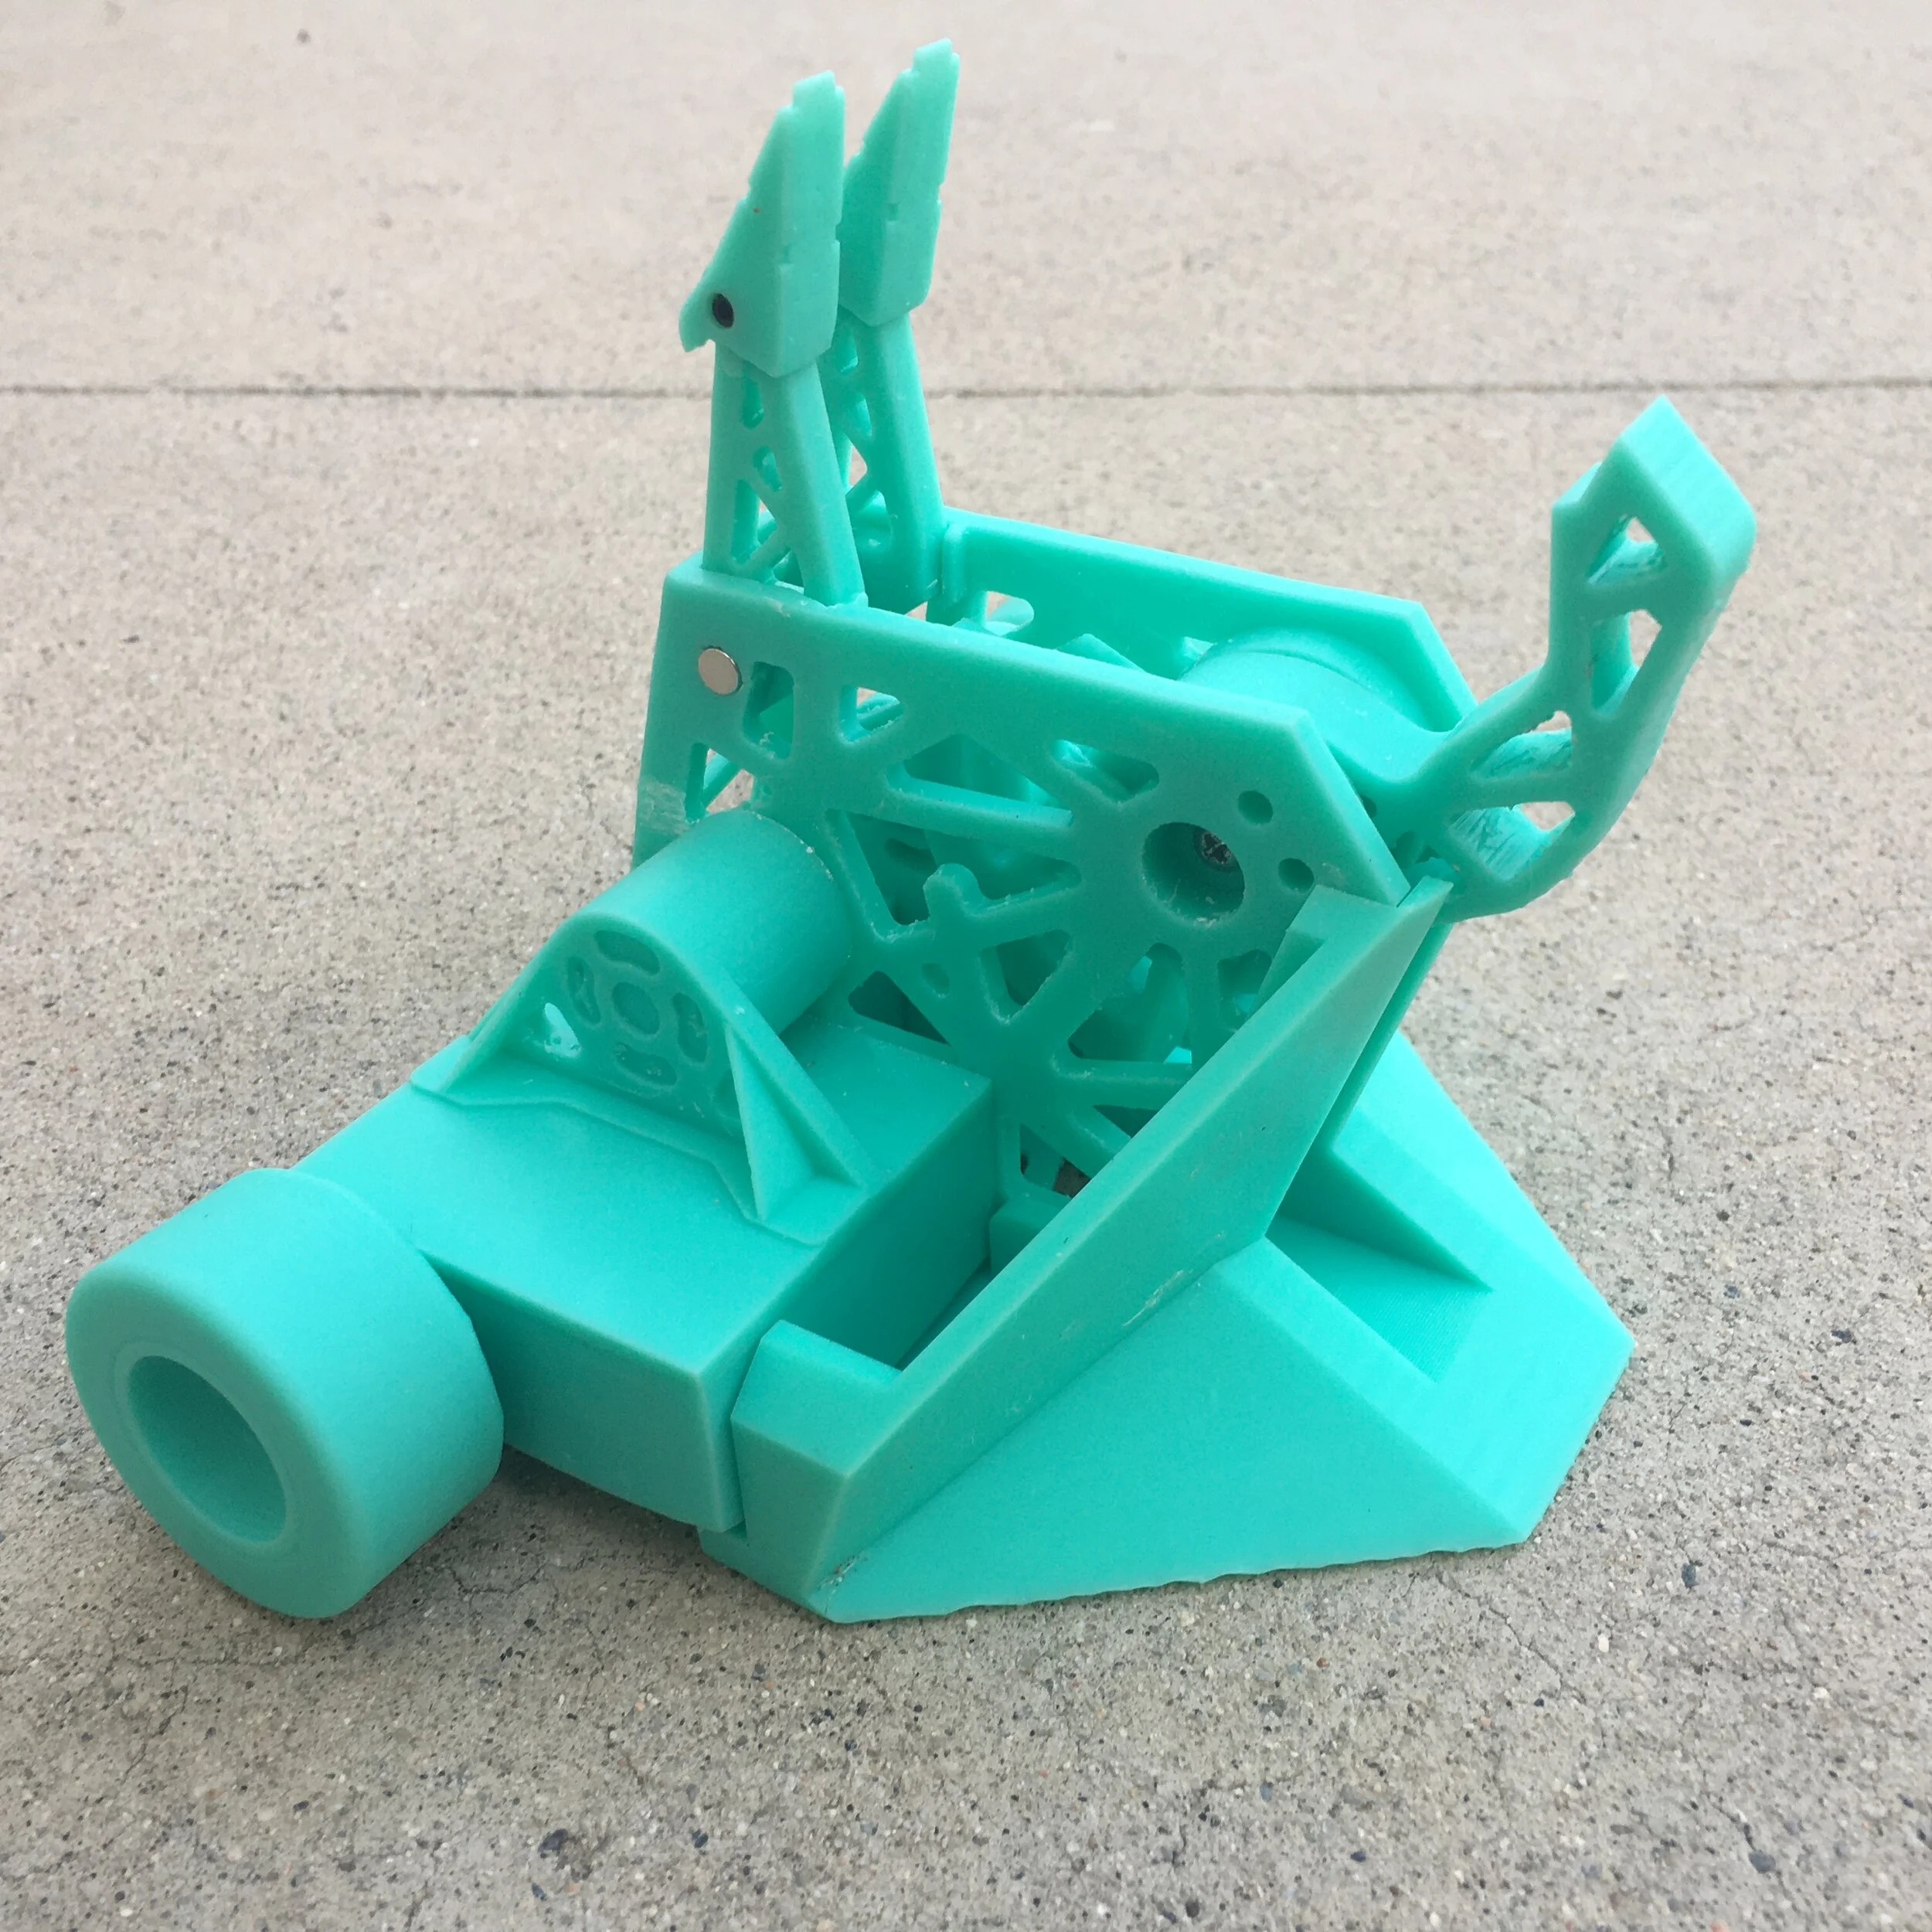
I also wanted the model to be as realistic as possible and so I opted to make all the pieces on Uppercut that articulate move in this model as well. Meaning, the blade spins, the wheels spin, and the forks are floppy.
I decided to separate the butt from the weapon rail assembly for two reasons. One, it’s more like real life, and two it lets me make a larger model. Because I’m printing on an SLA printer, there’s no such thing as infill, and having large solid bodies in CAD results in either a large amount of resin being used, or a hollow body full of uncured resin. You can also design drainage holes in CAD or the slicer but I decided all these methods were mildly annoying to cleanup or wasteful. Instead I left the body hollow and made the bottom plate a separate bolted on piece.
Look how little space I have left!
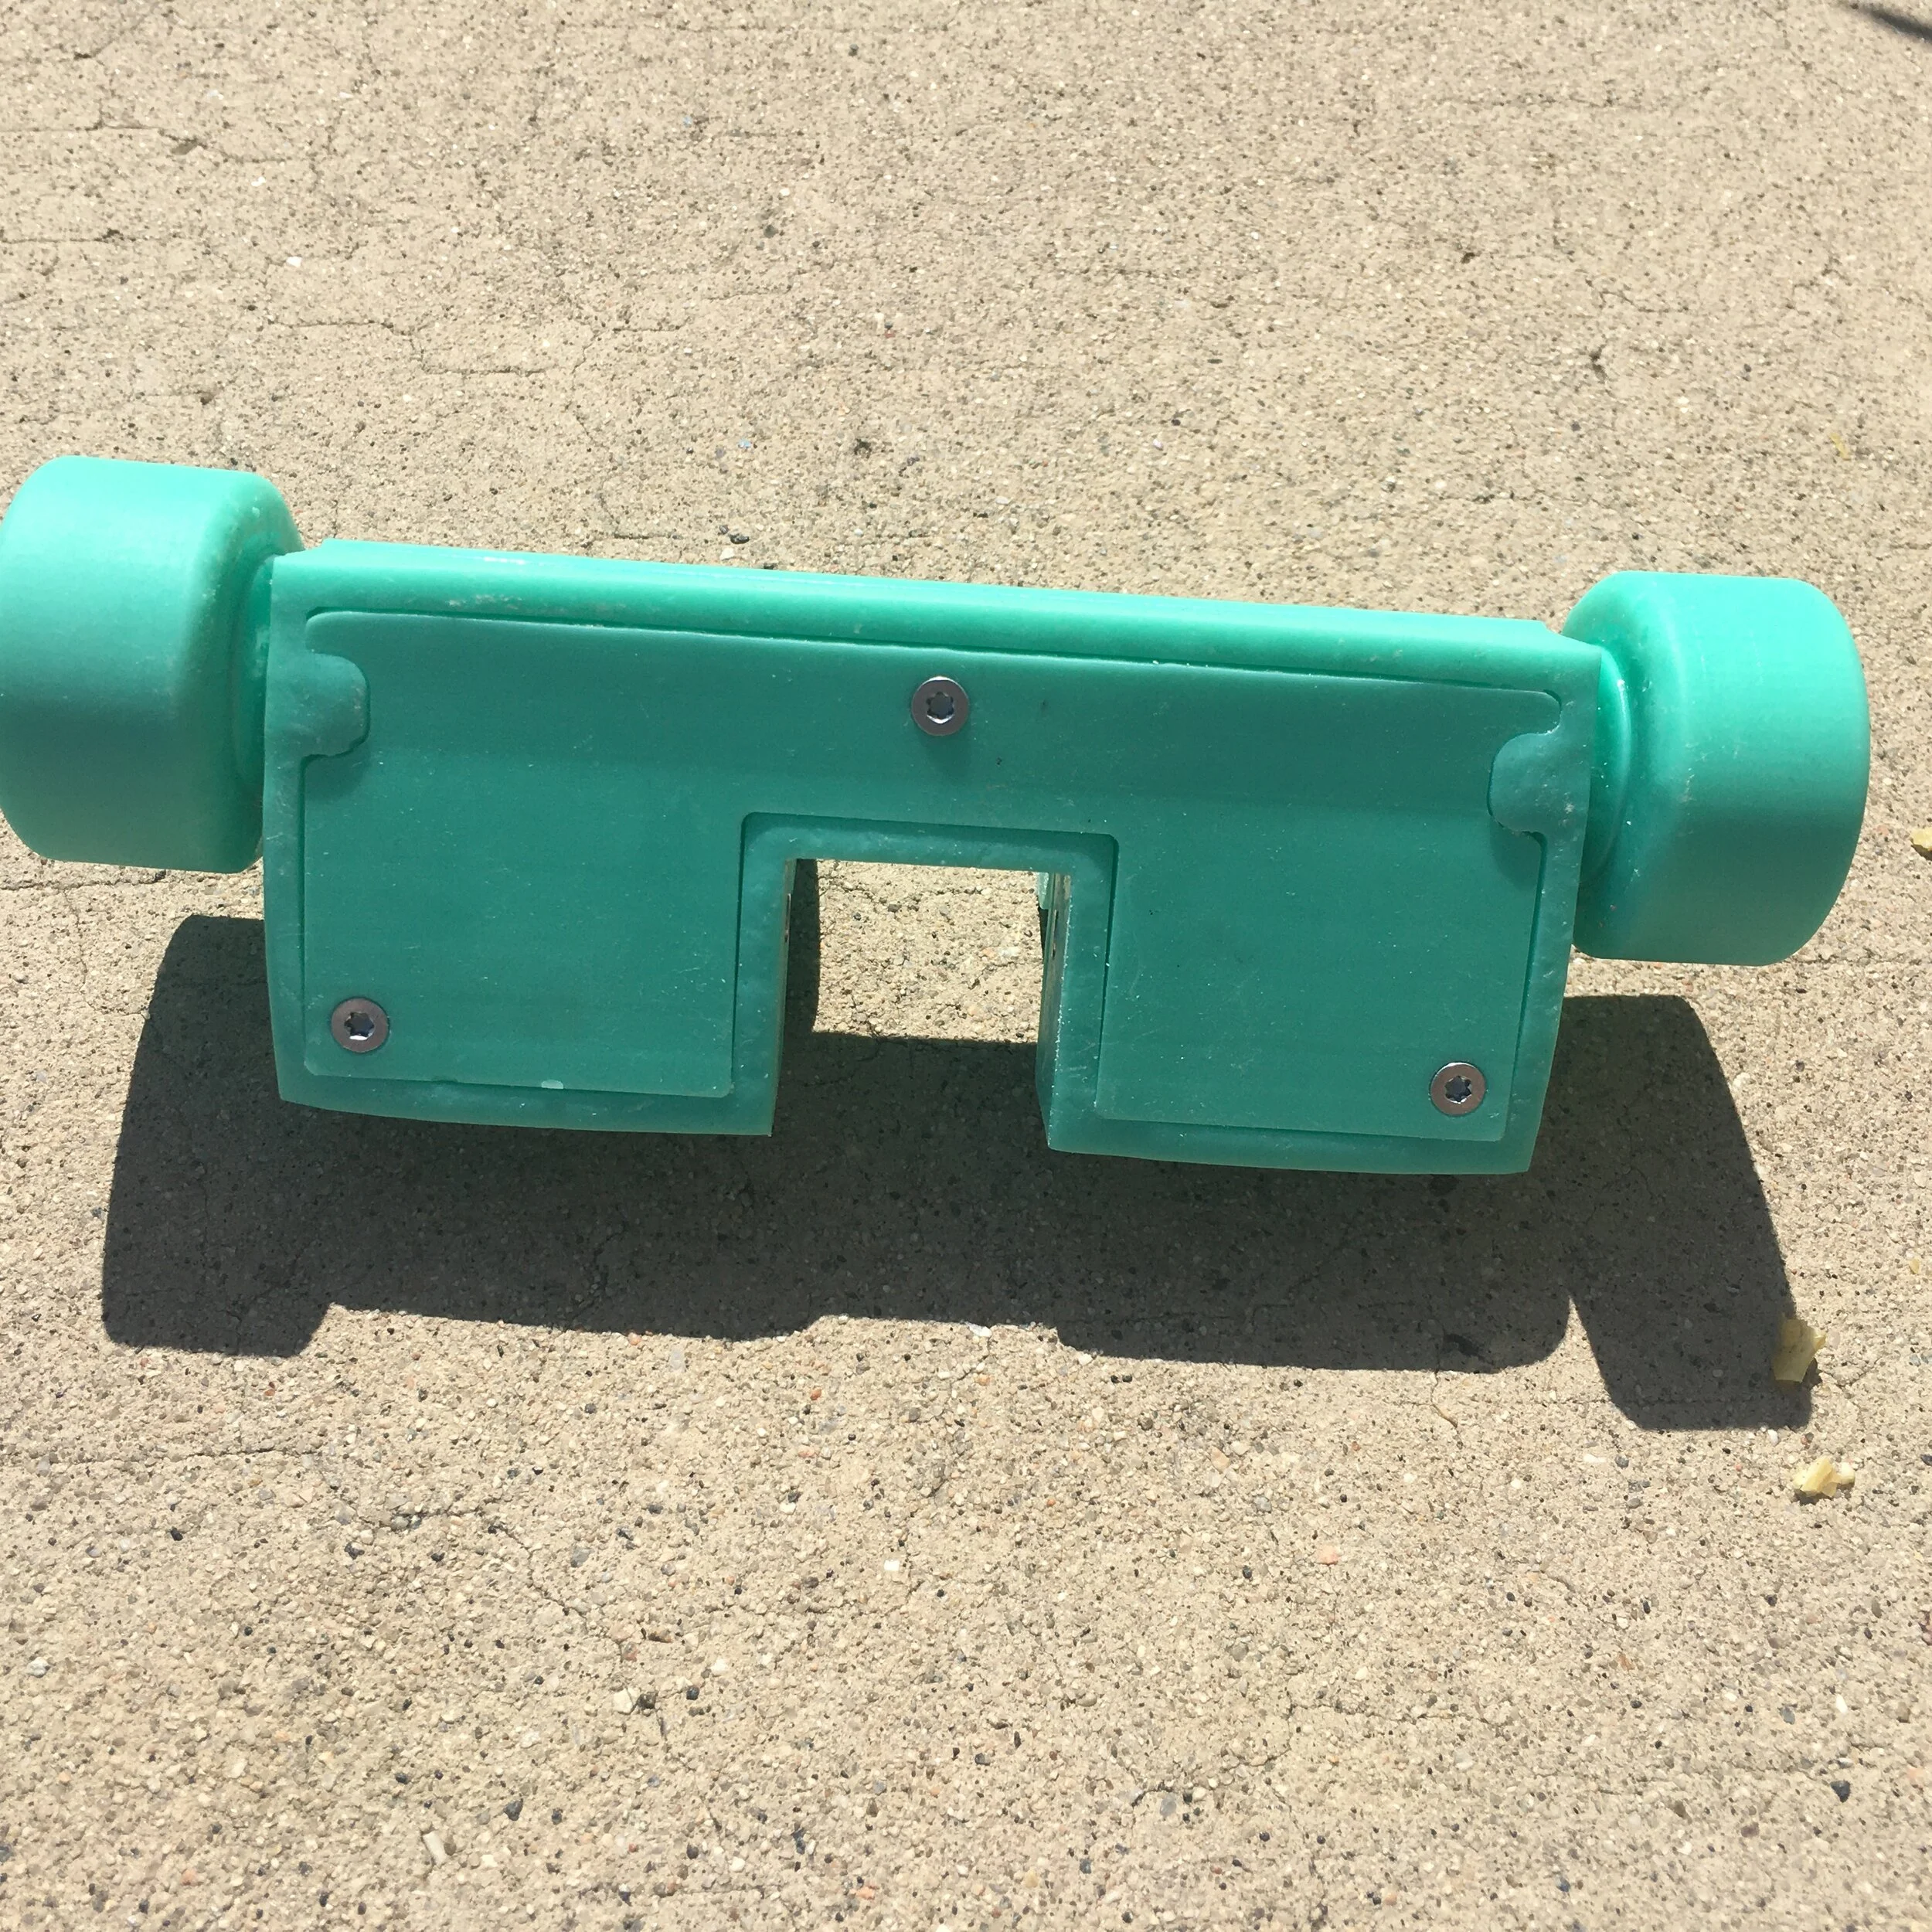
All the screws used are 4-20 plastite screws I had leftover from the Swerve adventure.
I also used the screws as dead shafts for the wheels and blade.
When designing the weapon rails, I realized a cool trick I could use to save time. In order to keep the parts aesthetically accurate, I wanted the shape and weight cutouts to be identical to the real model. To do this I made a copy of the real Uppercut parts, scaled them down, imported them into the printable part and then transferred the lightening patterns.


The weapon rails are held onto the body using magnets, and the forks/wedge are also held onto the weapon rails using magnets so they can be easily interchanged.
The forks were quite simple but I decided to try something new because they were small and low risk. I modeled the M3x0.5 threads in them so I could use the M3 set screws I had in my room as pivots for the floppy forklets without needing a tap. Sure enough the printer was able to print them and the threads turned out totally usable.

Last came the wedge which was definitely the part I was dreading designing the most. Its such a pain because its a huge 3D angled blob. I also wanted to redesign it as a more billet-like part so it would print more reliably than a welded-like part.
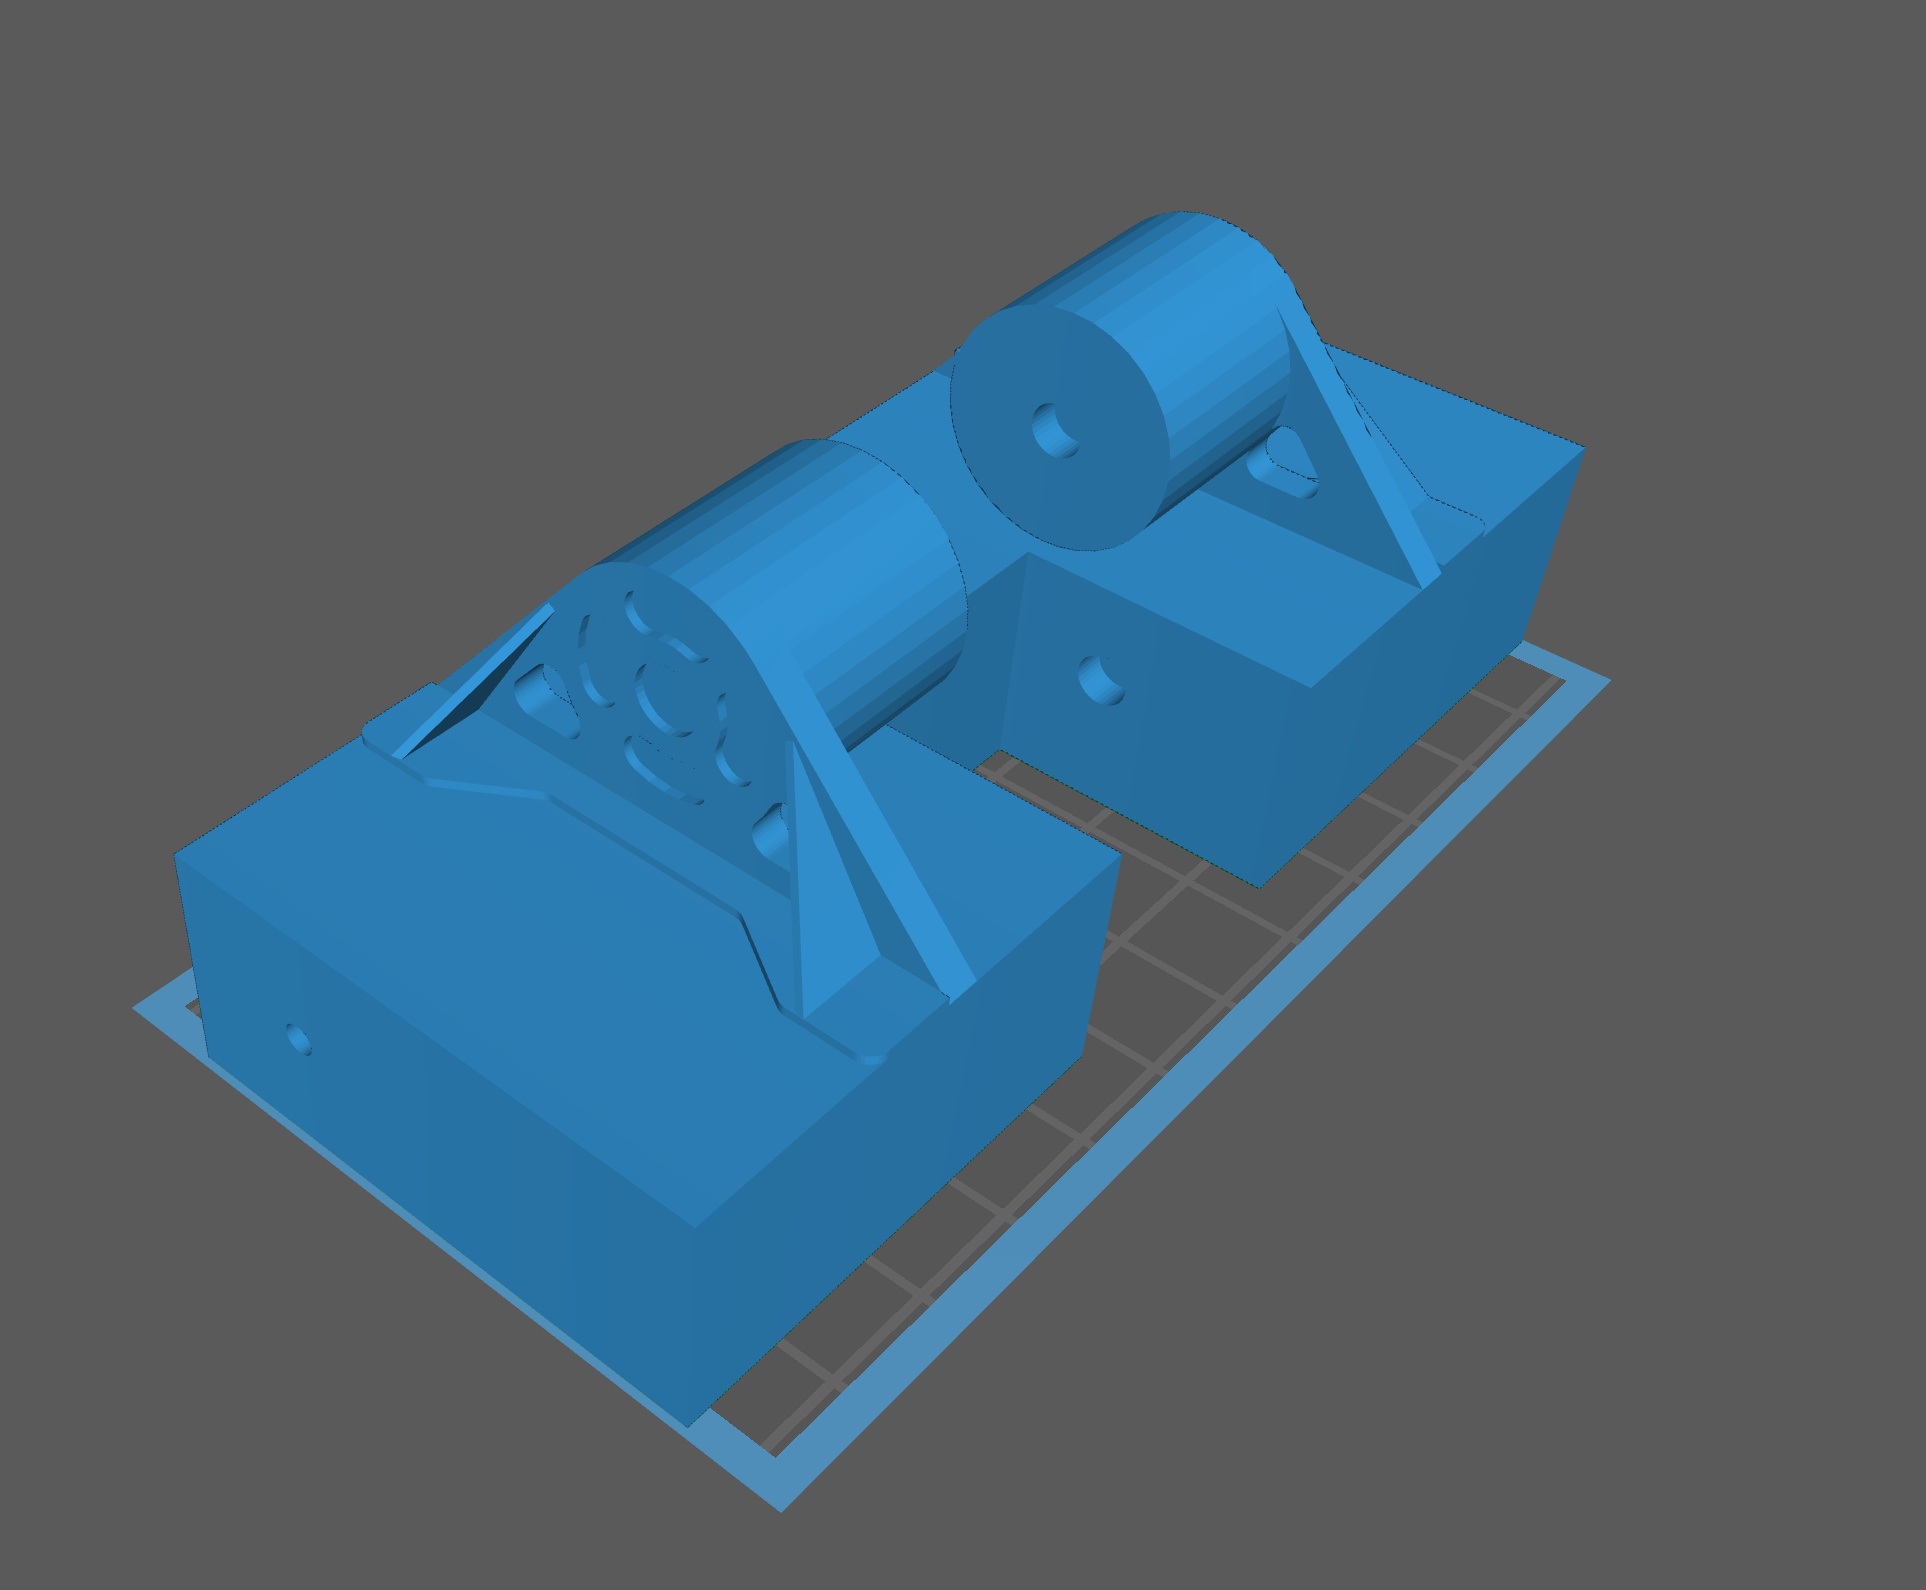
Luckily I had the import a part into a part trick up my sleeve. It took about an hour to design, but what I ended up doing was creating a block that encompassed the volume of the wedge, then imported the wedge and made a bunch of splits using all the faces of the scaled wedge assembly. Then I slowly chiseled away at the block by deleting unused chunks, and modifying the printable wedge to incorporate the magnets, make the walls a reasonable thickness, etc.

After getting the rough geometry shown above, I combined the sliced up wedge, and reimported the body into Solidworks as a fresh part. Then I imported the wedge into the main assembly for final touch ups. This method was surprisingly painless and I think I’ll use a similar method when designing the actual toy.